
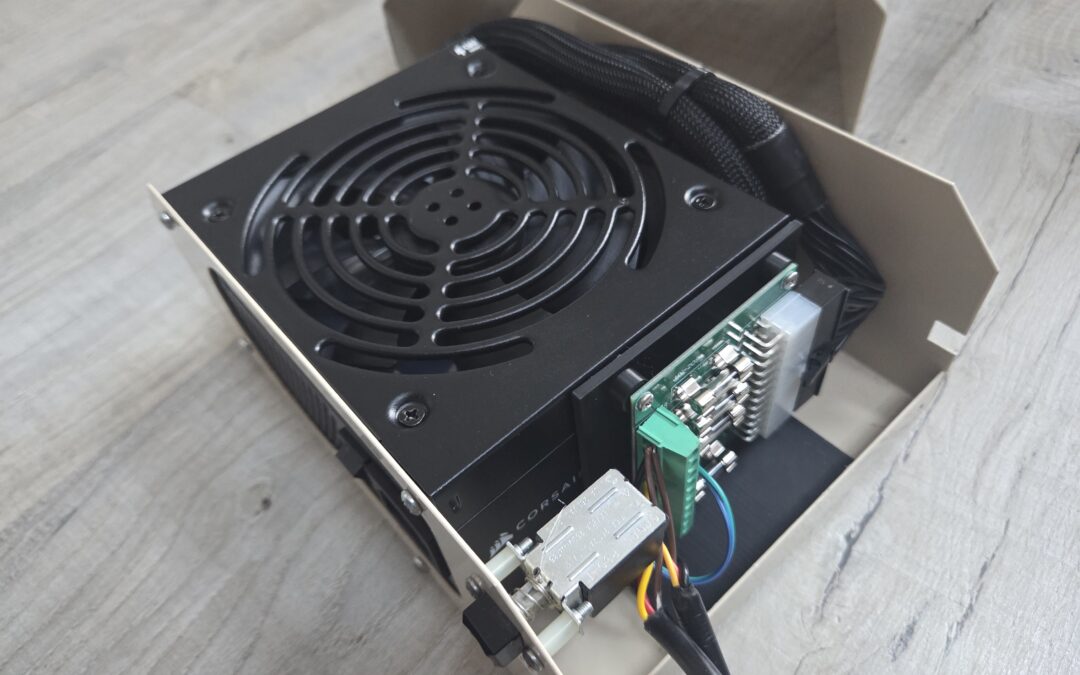
A while back, I rebuilt a dead Datel Goliath PSU using a spare ATX supply and a breakout board, mostly because I couldn’t resist rescuing it from the shelf it had been gathering dust on You can read about that original build here. That article ended up bringing in a proper commission, and this time it wasn’t for me. As many of you know, not a single one of my own collection will ever use an original power supply without a modern restomod.
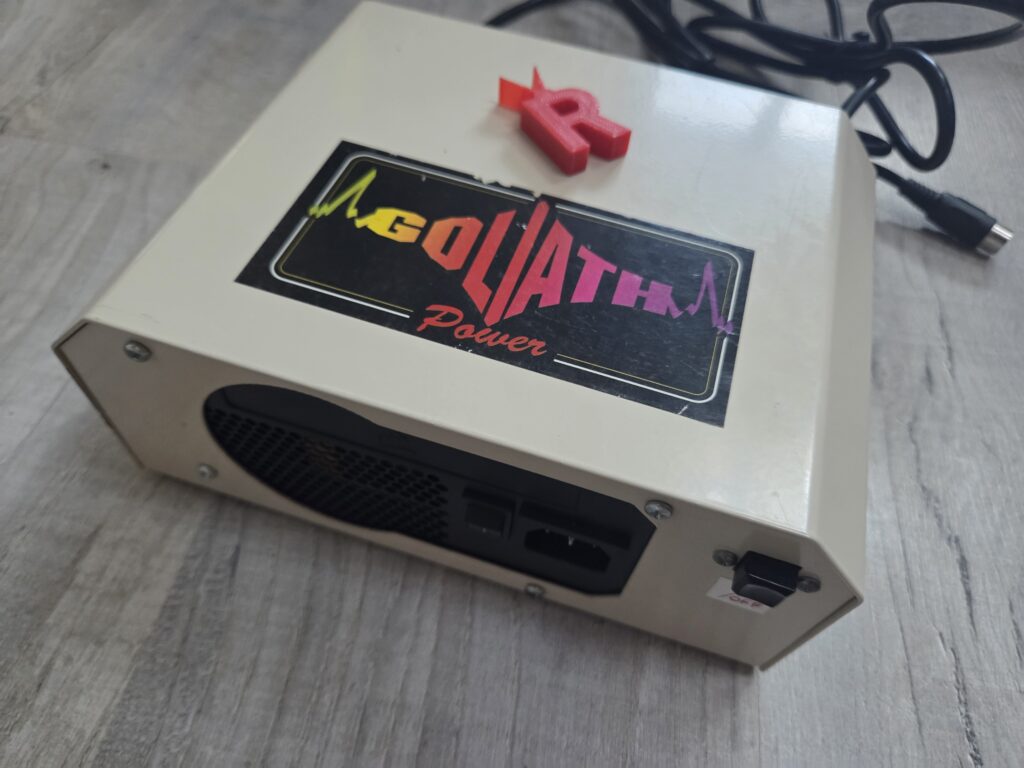
Dave got in touch after reading it. Dave’s a regular at Amiga shows and runs a setup that includes an upgraded CD32 with an external Eyetech case housing an ATAPI Zip drive and an internal cooling fan. All of that kit was being powered off a dying original Commodore CD32 PSU that was starting to whine and had already stopped outputting power to the console itself. He wanted one PSU to run the lot, and he wanted it built into a Goliath shell because it looks a lot less suspicious sitting on a show table than a bare AT tower supply.
What Dave actually needed
This wasn’t a straight repeat of my original build. Dave’s CD32 setup needed two separate CD32-style power outputs from the same Goliath case. One feeds the console itself, the other feeds the external Zip drive enclosure and its internal fan, which had previously been leap-frogged off a second CD32 PSU he was borrowing.
He sent over his mighty goliath PSU and old CD32 PSU cables from both of his failing units so I could reuse the correct plugs rather than sourcing new ones, which kept the end result looking period correct.
The build
Same starting point as before: a Goliath shell and a replacement ATX PSU, this time a Corsair 650W unit rather than the Gigabyte 600W I used on my own. Plenty of headroom for two CD32 outputs plus a fan.
Where this build differs from my first attempt is in how much tidier it ended up. On my own PSU I snipped the unused ATX cables and heat-shrunk the ends, which did the job but wasn’t exactly elegant. This time I left the Corsair’s cables intact and just routed and bundled them neatly inside the case instead. It takes up a bit more space but means the PSU can be pulled back out and reused elsewhere in future if needed. Given this was a paid build for someone else’s kit, keeping it reversible felt like the right thing to do.
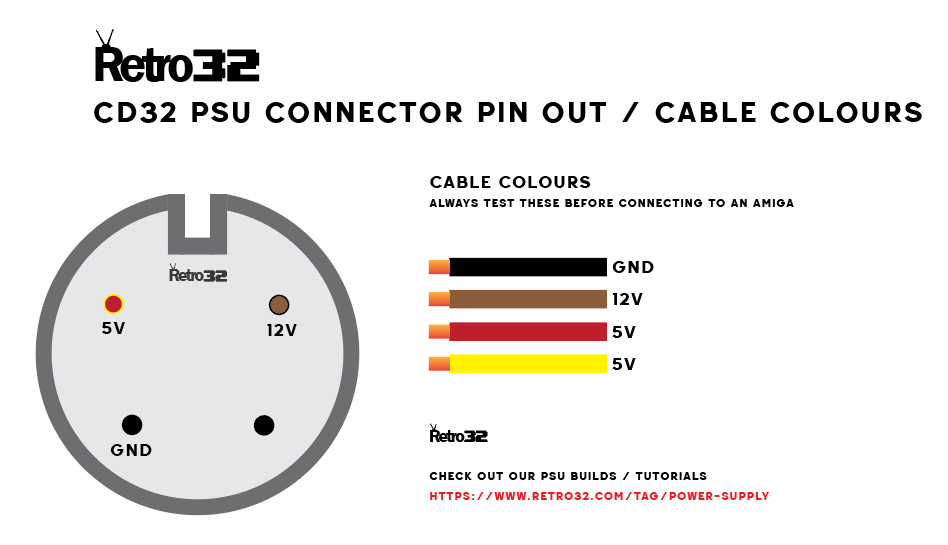
Both CD32 cables were wired into the ATX breakout board so they share the same 12V, 5V and ground rails. Here’s the wiring diagram I drew up for the CD32. Every time I build a PSU I always like to have these handy despite losing count of the number of PSUs Ive made over the years.
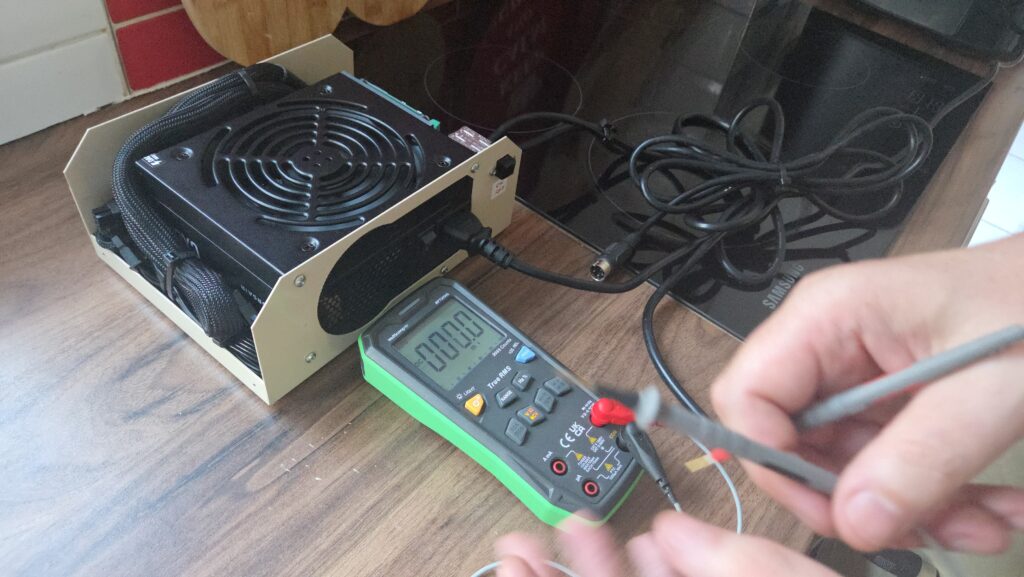
Before it went back to Dave I did a full voltage check on both outputs with a multimeter and recorded a short video of it running so he could see it working before it even left the workshop.
The 3D printed bracket
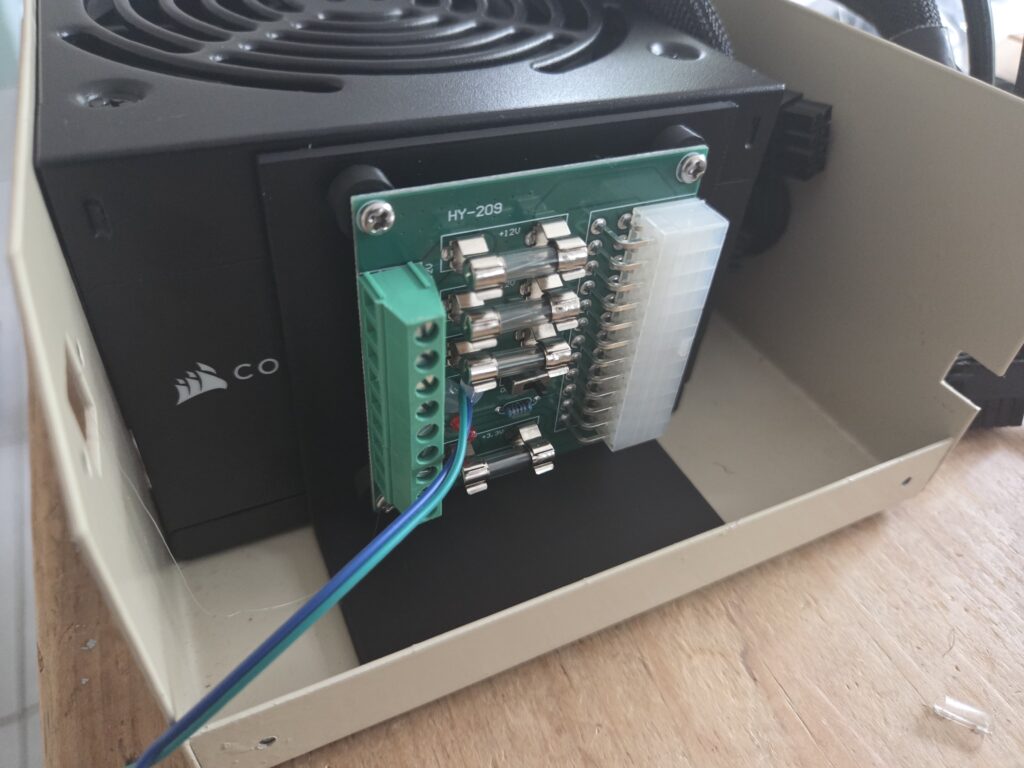
The bit I’m genuinely pleased with is the mounting bracket. On my original Goliath rebuild the ATX breakout board was just sort of wedged in there with hot glue holding everything together, which I openly admitted was a bit of a bodge. For this build I designed a proper 3D printed bracket that holds the breakout board securely inside the enclosure, keeps the wiring away from the case sides, and stops anything shifting around in transit.
It’s made a genuine difference to how the finished PSU feels. No more hot glue holding a board in place and hoping for the best. I’ll be printing one of these for my own Goliath PSU as well and updating that original article once it’s fitted. Saying that, none of my PSU builds are without some hot glue. The bracket itself is hot-glued to the sides of the PSU casing at the bottom of the enclosure.
If you’re doing a similar Goliath or ATX breakout conversion yourself, the bracket is free to download and print:

This is designed around this specific ATX breakout board – you can find it on Amazon – https://amzn.to/4wqXmpE
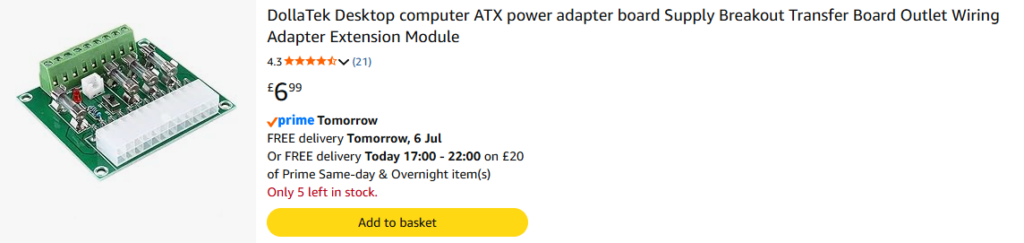
I’m printing these on my Bambu Lab P1S, it’s only a quick 45min print. If you do use it then please send us over a photo of your build; I love to see them.
Verdict
This one came out noticeably better than my first Goliath rebuild, mostly thanks to the bracket. Keeping the donor PSU’s cables intact rather than cutting them also means Dave isn’t stuck if the Corsair PSU ever needs replacing further down the line. Two working CD32 outputs from one Goliath shell, no more borrowing PSUs from other traders at shows.
If you’ve got a Goliath PSU project of your own, or a similar Amiga power supply headache, get in touch via the contact page and I’ll see what I can do.
Frequently Asked Questions
Can a Datel Goliath PSU be converted to run two CD32 outputs?
Yes. Wiring two CD32-style outputs into the same ATX breakout board works fine as long as the replacement PSU has enough headroom. A 500W or 600W ATX supply has plenty of capacity for a CD32 console plus accessories.
Do you need to cut the ATX PSU’s original cables for a Goliath rebuild?
No, not if you don’t want to. Cutting unused cables is quicker but permanent. Managing and bundling them instead takes a bit more room inside the case but means the PSU can be reused elsewhere later without any rework.
Is the ATX breakout board bracket for the Goliath PSU available to download?
Yes, the 3D printable bracket is free to download from Retro32 and fits inside the Goliath shell to mount the ATX breakout board securely.
What replacement PSU wattage is needed for a Goliath Amiga power supply conversion?
A 500W to 600W ATX PSU gives more than comfortable headroom for any Amiga (its pretty much overkill tbh) or CD32 plus additional accessories such as external drives or fans, without running anywhere near capacity.