For those of you new to the wonderful world of BBS we’ve put together this guide on how to get connected to the Retro32.com BBS. We’d recommend you use SyncTERM unless you are on an Amiga.
I hope you find this guide useful, if you have any feedback on these instructions please email [email protected]
Select an item to jump!
SyncTERM
SyncTERM is a BBS terminal program (client) that supports: Windows, Linux, OpenBSD, NetBSD, OS X, and FreeBSD. It allows full usage of the Retro32 from any supported platform including uploads and downloads of files.
This is our preferred connection method when not in front of a real Amiga.
Download
More info & download https://syncterm.bbsdev.net/
Once installed open SyncTERM
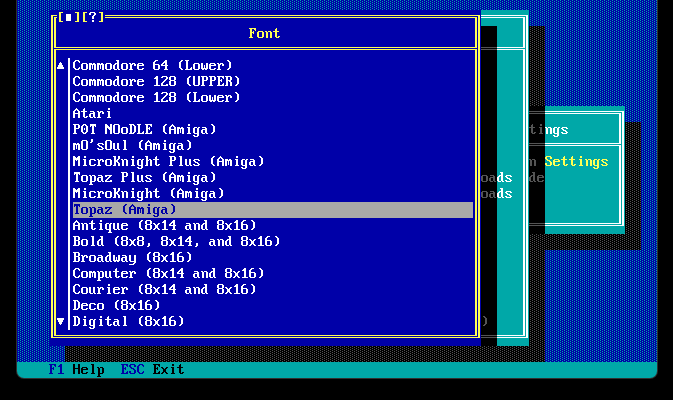
SyncTERM Font Setup
In order to get the most from the epic ASCII and ANSI designs experty crafted by FuZion we recommend you change the font. If you wanted to play with the fonts in the future, they can be changed in the connection settings later.
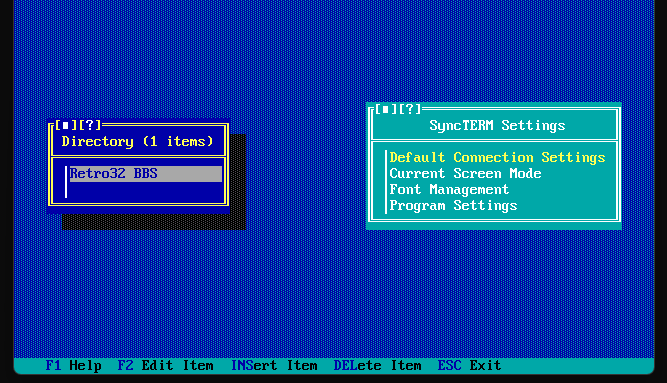
Select Default Connection Settings – then select Font
Select Topaz (Amiga)
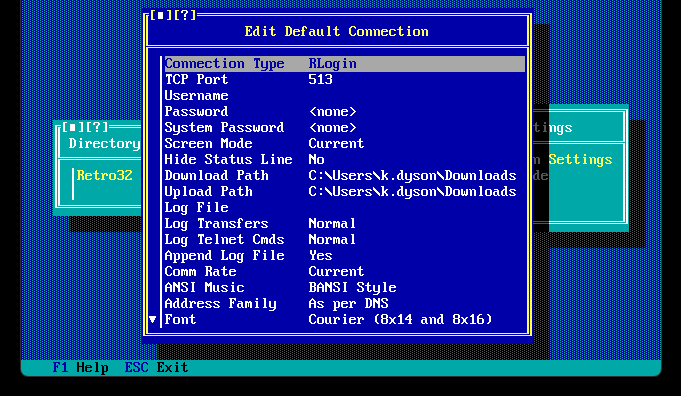
Connection Setup
With the default font set, let’s set the connection details
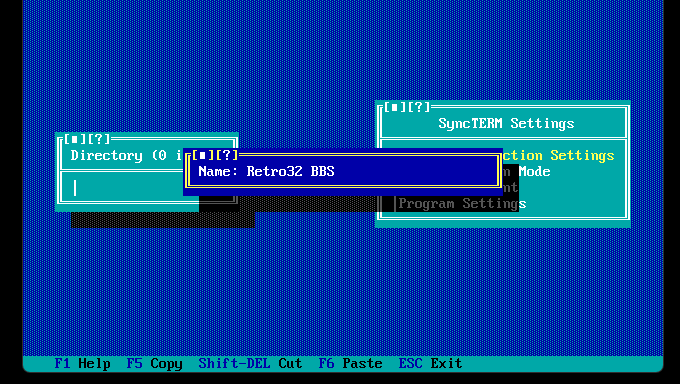
Press Enter / INS
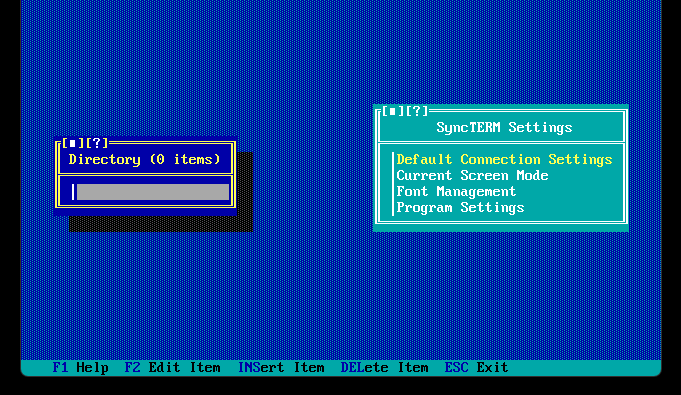
Type the name of the connection. Maybe something like Retro32 BBS
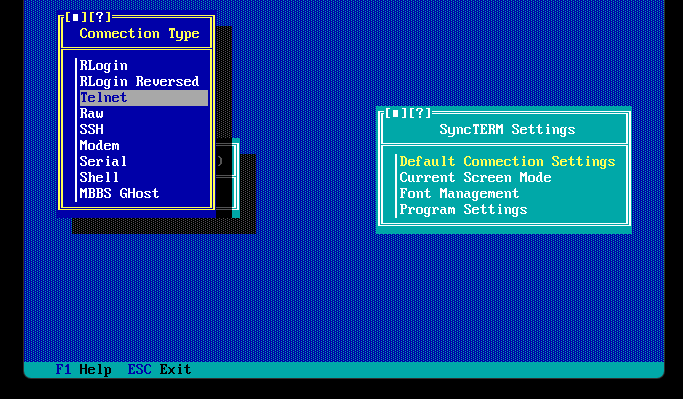
Select Telnet
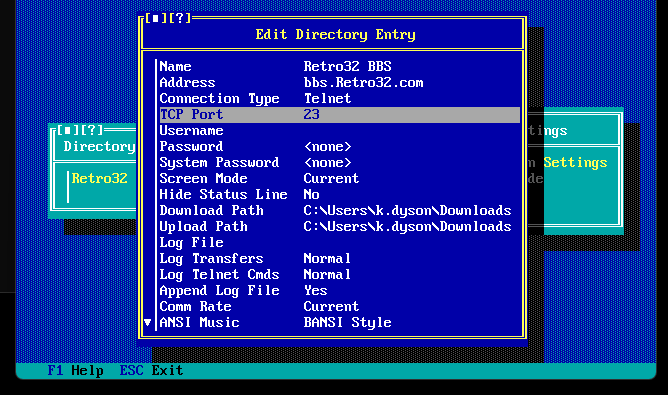
Now highlight the connection you created above and press F2 (Edit item)

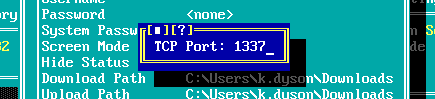
Change the TCP Port to 1337
If you’ve not already changed the Font to Topaz Amiga you an do it in this section too.
Now press escape
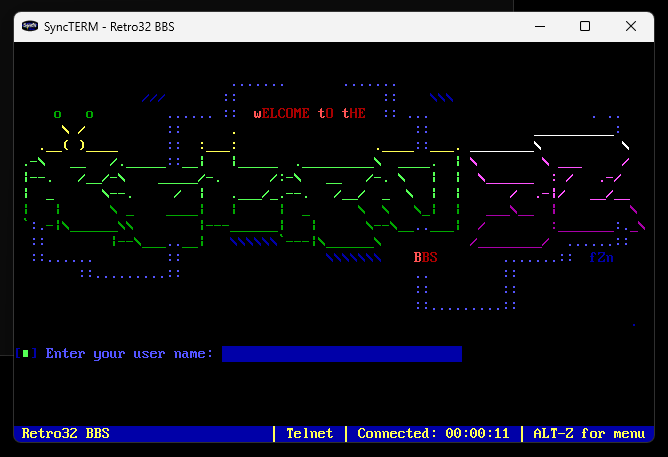
Press Enter back on the main menu to connect
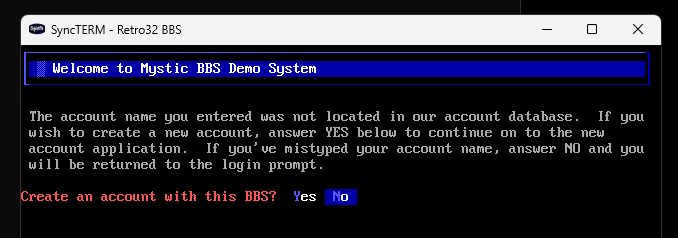
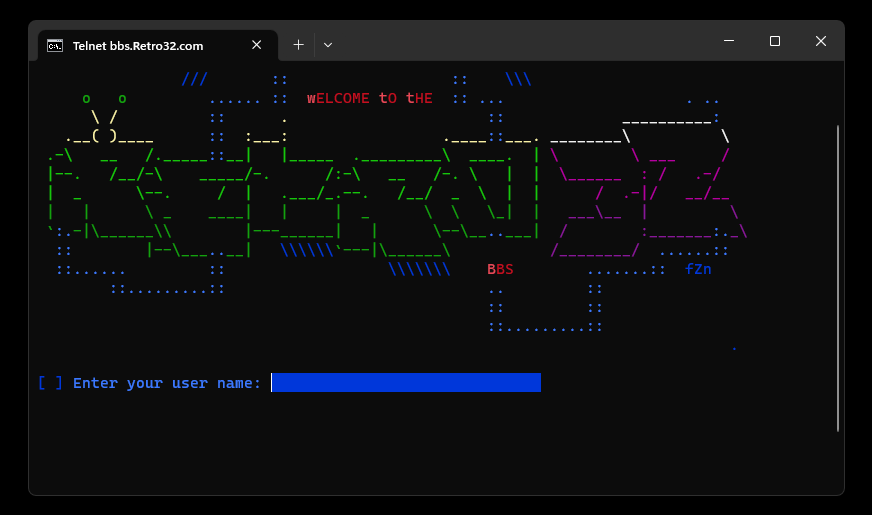
You’re now connected! Enter your user name, if you’re new to the board you will be asked to register, if you’ve already registered you’ll be prompted for your password
Telnet
Telnet is a network protocol that can be run from a variety of different devices. In later versions of Windows the telnet client is not installed by default. Scroll down for instructions.
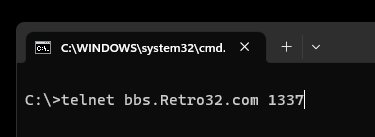
Windows: Press the Windows+R – Type cmd
To connect type (then enter)
telnet bbs.retro32.com 1337
The above command is shown as telnet <dnshostname> <port number>
Enable the Telnet Client in Windows
In Windows 11, Windows 10, Windows 8, Windows 7, and Windows Vista, turn on the Telnet Client in Windows Features in Control Panel before any relevant commands can be executed.
-
Open Control Panel by searching for control panel in the Start menu. Or, open the Run dialog box via WIN+R and then enter control.
-
Select Programs. If you don’t see that because you’re viewing the Control Panel applet icons, choose Programs and Features instead, and then skip to Step 4.
- Select Programs and Features
-
Select Turn Windows features on or off from the left pane.
-
Select the check box next to Telnet Client
- Click OK
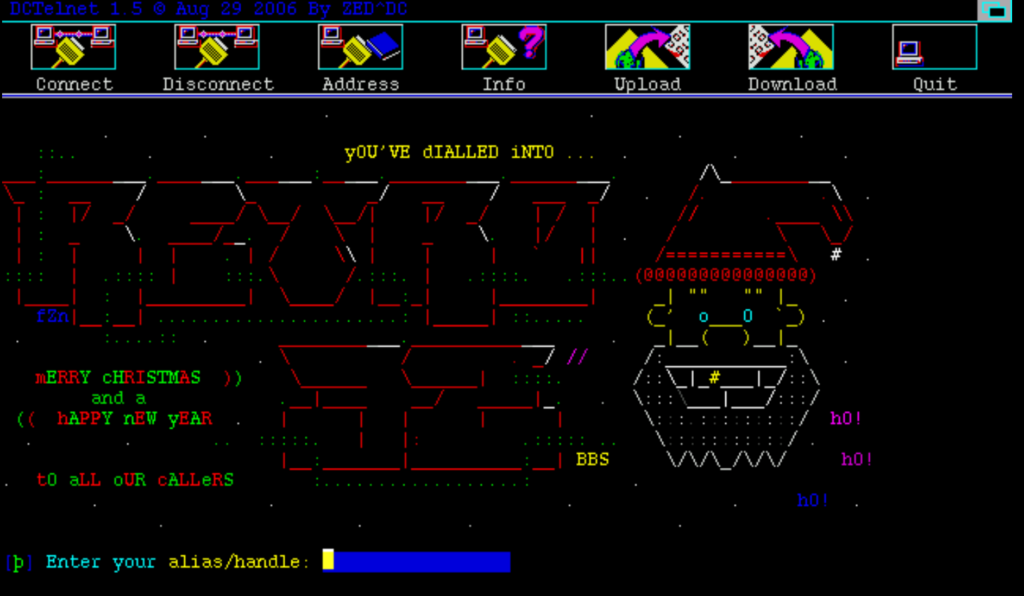
DCTelnet

There are a variety of different BBS Clients for the Amiga but our favorite is DCTelnet. It can be downloaded from Aminet here https://aminet.net/package/comm/tcp/DCTelnet_16
Open DCTelnet, click Connect, Type bbs.retro32.com,1337 – press OK
[dnshostname],[port]
Yes, that’s a comma, not a colon!