First, a massive thank you to LinuxJedi for the tip on the PSU—he’s a legend and has always been there whenever I run out of knowledge or skill (which is often both!).
The Problem with Original Amiga PSUs
As many Amiga enthusiasts know, original Amiga power supplies can be quite unreliable. Over time, they often develop electrical issues, and require recapping. This often leads to unstable power output or outright failure. Personally, I don’t use original PSUs on my machines—mine are either powered by Meanwell units or ATX PSUs (links below).
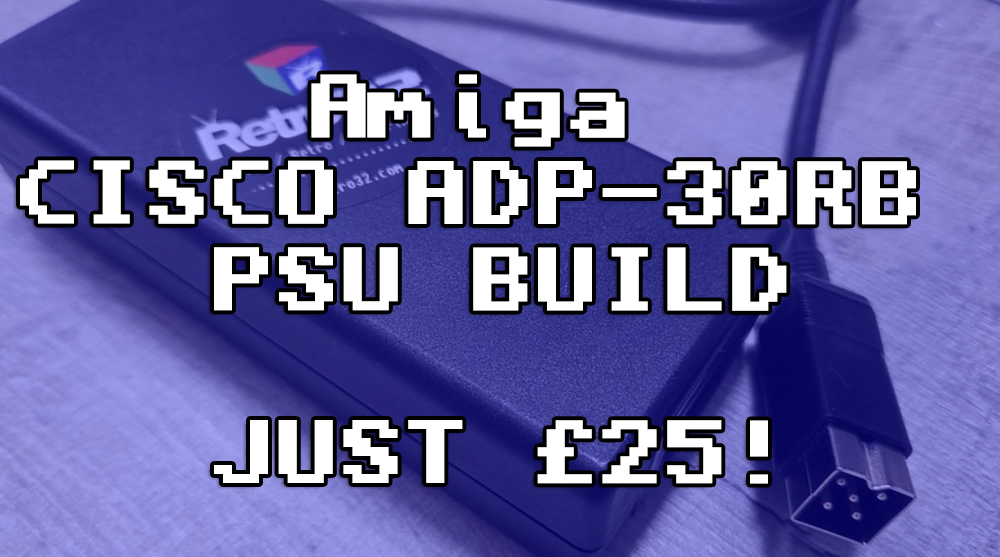
Cisco ADP-30RB
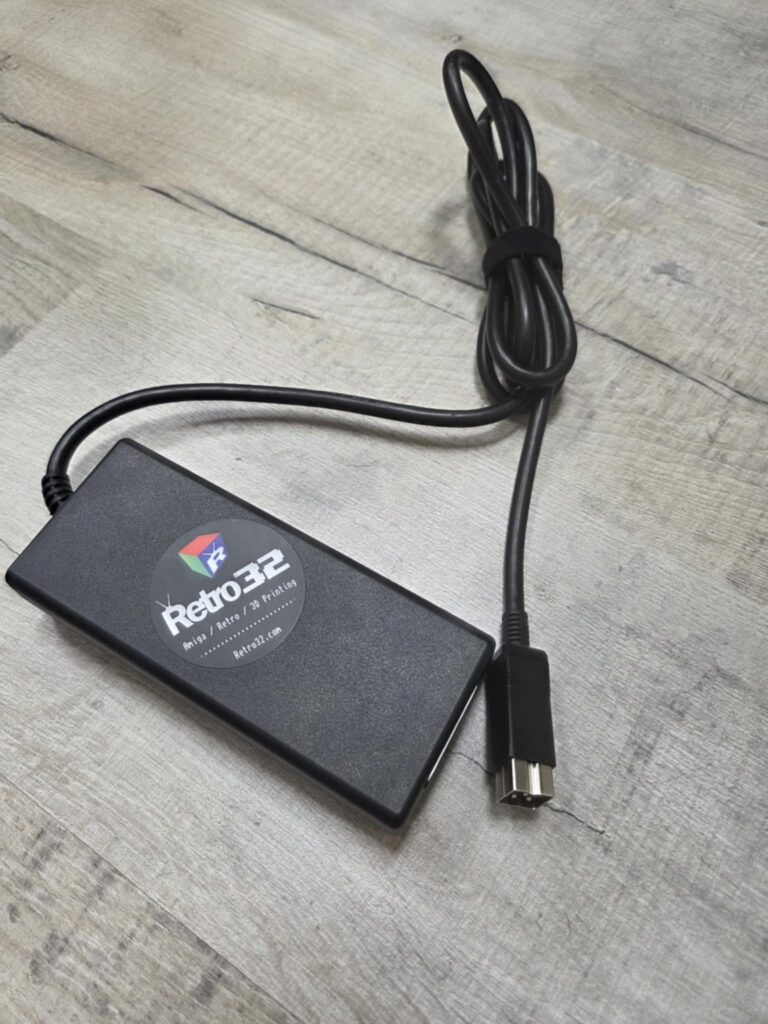
After receiving a tip from Andrew about several Cisco ADP-30RB PSUs available on eBay, I picked one up as a weekend project.
The PSU itself is a compact unit, ideal for a modestly equipped Amiga and a perfect replacement for a bulky beige power supply. Measuring just 160 × 65 × 35 mm, it’s significantly smaller than the original Commodore unit.
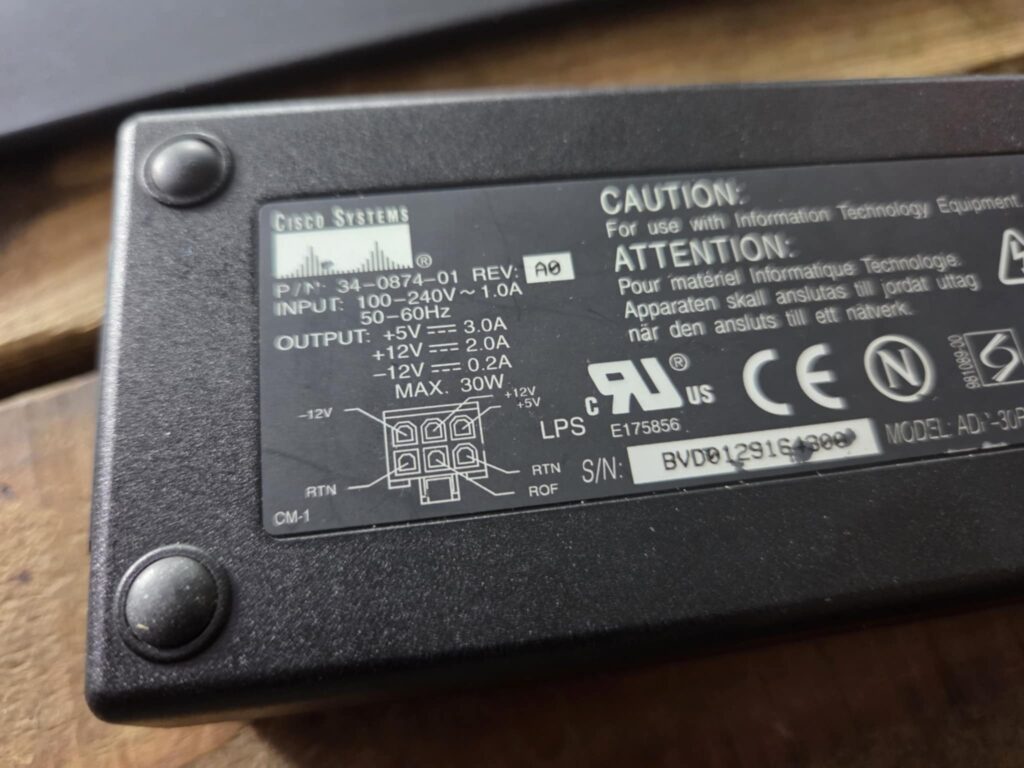
The Cisco ADP-30RB outputs a modest 30W, as shown below:
| Output | 30W |
| +5V | 3.0A |
| +12 | 2.0A |
| -12 | 0.2A |
While it has lower power output compared to the Meanwell RT-50B or RPT-60B (both rated at 50W), 30W is more than sufficient for most modest machines.
Note: This PSU is also compatible with USA power. (Input 100-240V)
Cisco PSU stats
What does the original Amiga power supply output?
| PSU Type | Part number | +5V current | +12V current | -12V current | Combined Watt Power Rating |
| A500 type 1 | 312503-02 | 2.5 Amp | 1.0 Amp | 0.1 Amp | 25.7 Watts |
| A500 type 2 | 312503-03 | 4.5 Amp | 1.0 Amp | 0.1 Amp | 35.7 Watts |
| A6000 A1200 | 391029-02 | 3.0 Amp | 0.5 Amp | 0.1 Amp | 22.2 Watts |
| A600 A1200 | 391029-03 | 3.0 Amp | 0.5A | 0.1 Amp | 22.2 Watts |
For reference, here’s what a stock Amiga draws:
- Amiga 500: 2A (5V) / 10W
- Amiga 600: 1.7A (5V) / 8.5W
- Amiga 1200: 1.4A (5V) / 7W
The build
As with most of my little projects, eBay was the source of all necessary components.
A couple of years ago, I picked up a few Amiga PSU power connectors, which had been sitting in a drawer until now.
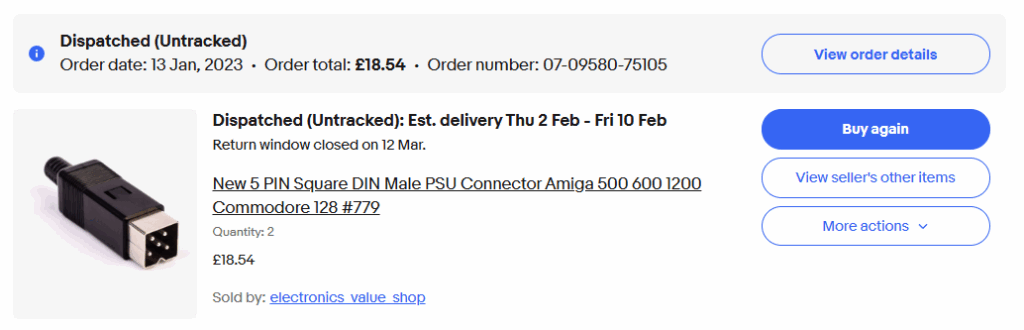
The PSU was just £14.24 delivered.

For a combined total of less than £25, what a bargain!
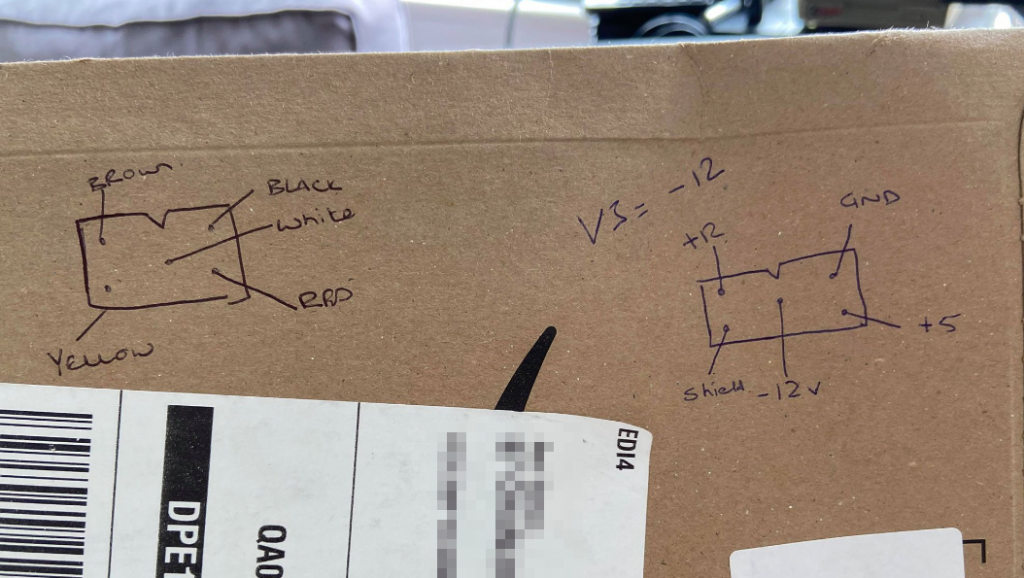
Pinout
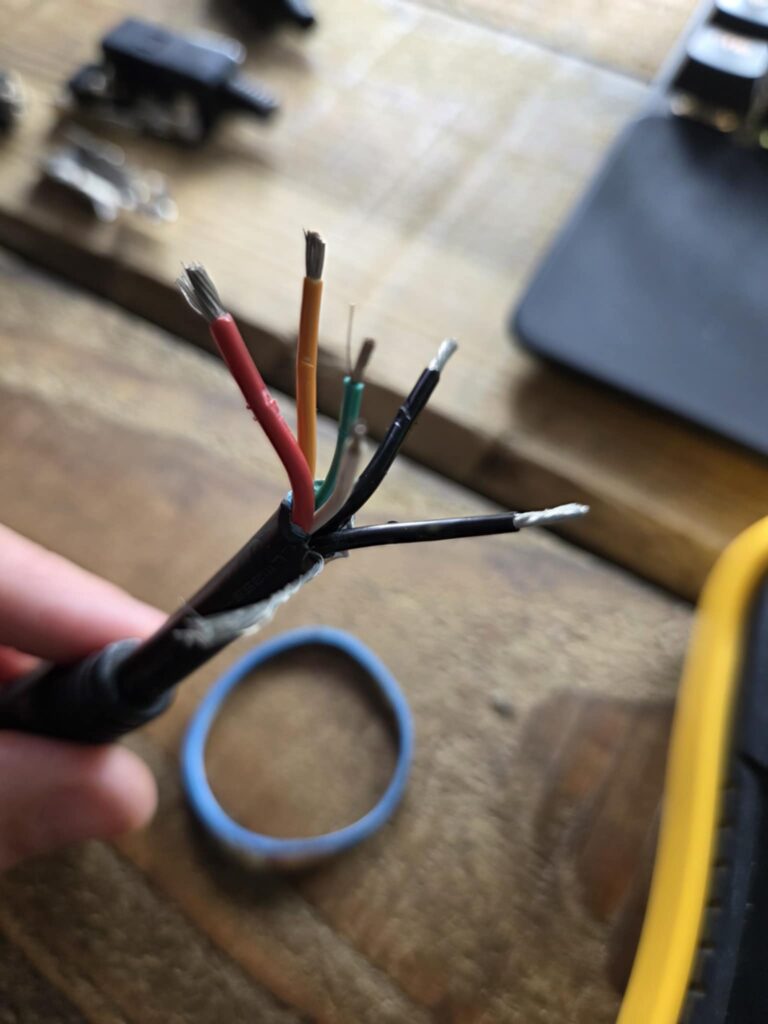
After my first attempt at pinning out the connector (which failed thanks to my lack of glasses), I recorded the wiring as follows:
| Wire | Voltage |
| Red | +5 |
| Orange | +12v |
| Green | -12v |
| Black (x2) | GND |
| White | Remote |
Note that the Remote write needs to be connected to ground to turn the PSU on; having two ground wires makes this quite simple.

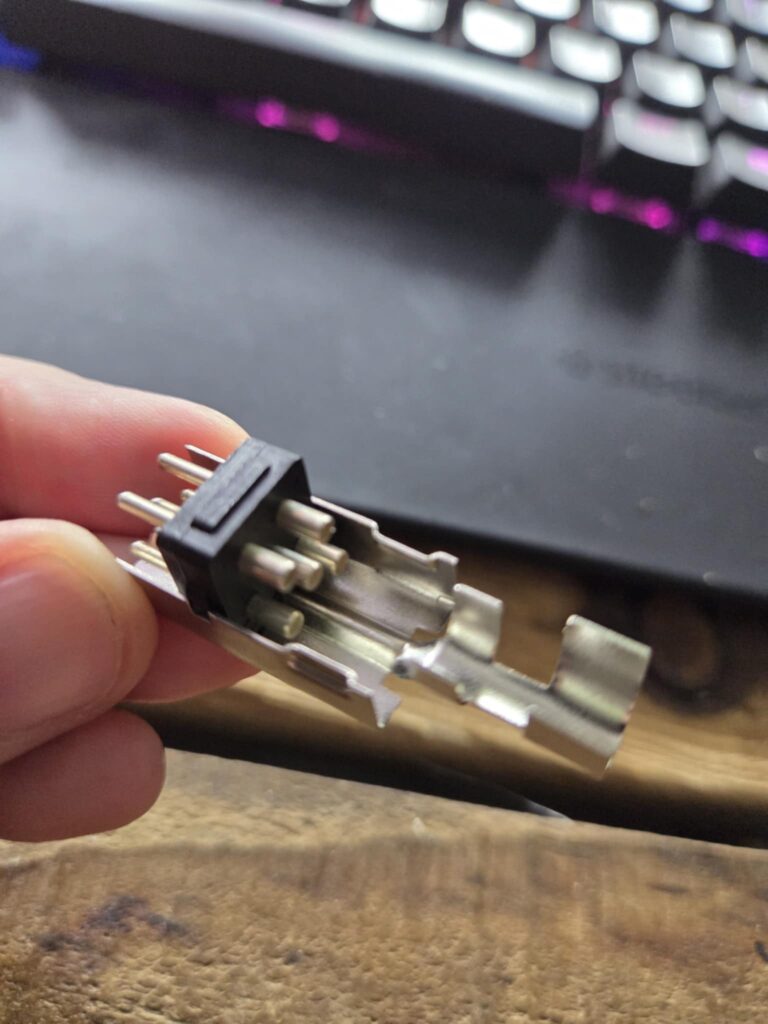
Connector Pinout – Cisco were most kind in labelling the connector
Amiga Pinout
If you’ve seen my other PSU projects, you’ll know our official documentation tends to end up scribbled on the back of an Amazon package.
Assembly
With the cables identified, I soldered a ground wire to the remote pin and heat-wrapped it. Then, I tested the voltages:
| Wire | Claimed | Actual |
| Red | +5v | 5.16v |
| Orange | +12v | 12.18v |
| Green | -12v | -11.95v |
Once everything was correctly identified, it was just a matter of soldering the connections.
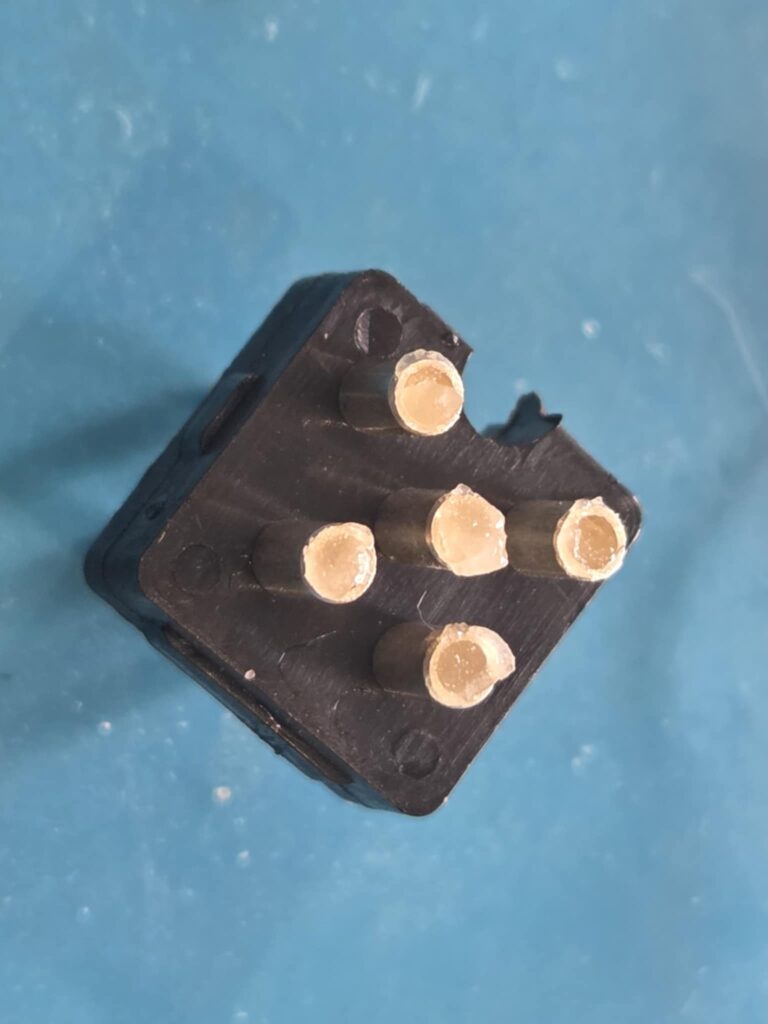
The PSU connector
Flux Added
A bit of flux was added before soldering.
With everything in place, I secured the cables with a cable tie, locked them in position, and slid the cover back on.
As with any PSU modification, I thoroughly tested the PSU pins—multiple times—before finally connecting it to an Amiga (after testing it one last time!)
The Result: A Success!
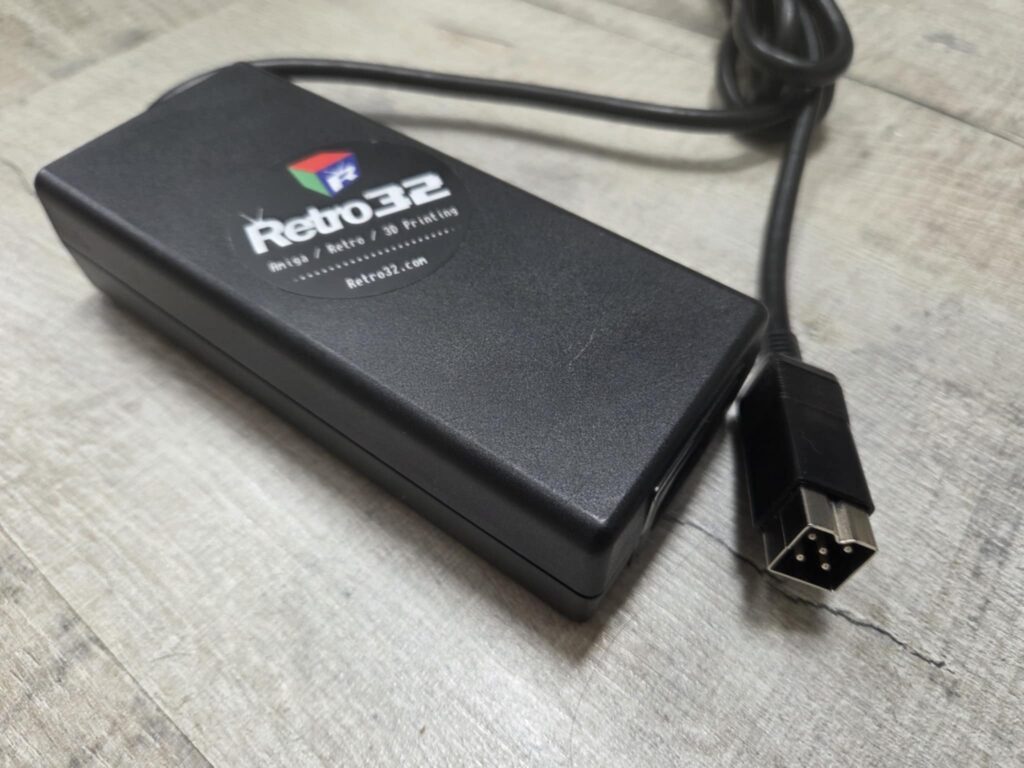
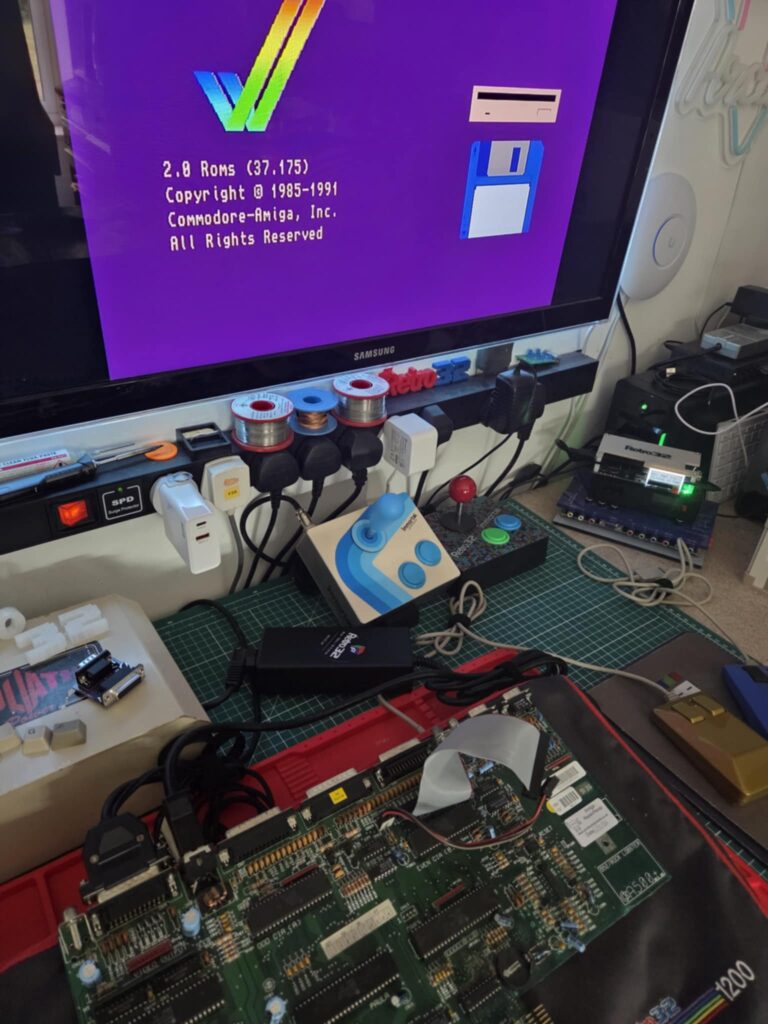
Great Success!
The verdict
The Cisco ADP-30RB isn’t quite a powerhouse like our Goliath Build, but it delivers more power than all but one of the standard Amiga PSUs. For a relatively small investment, it makes for a neat little project and an ideal PSU for anyone frequently transporting their Amiga to shows and events. Its compact size is a welcome change from the bulky original Commodore PSUs.