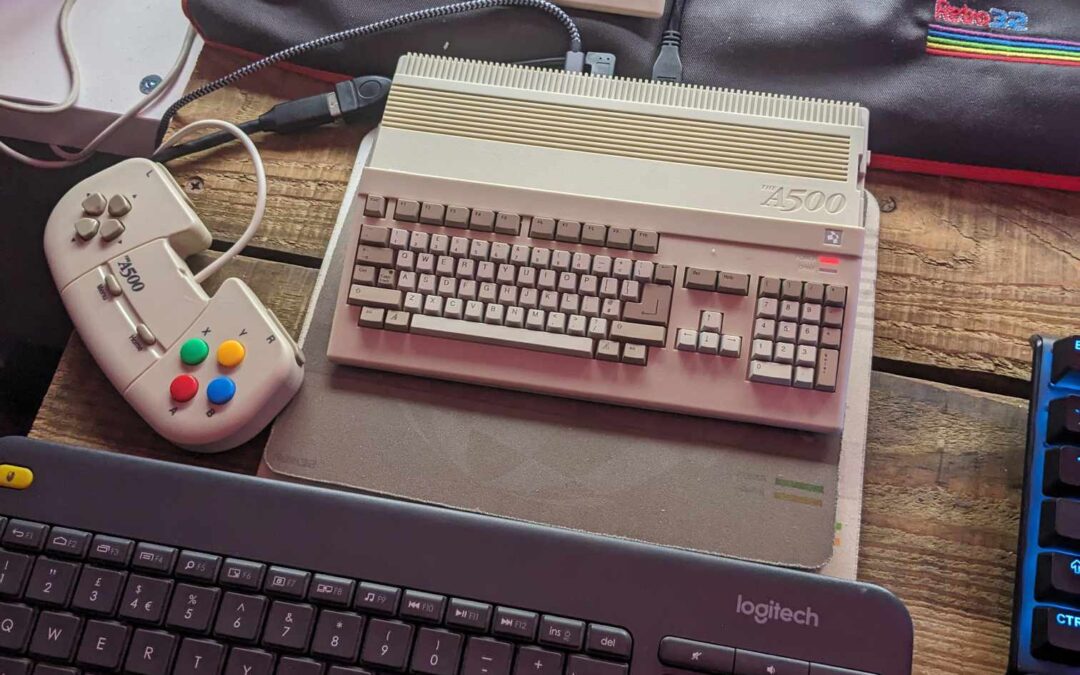
I make no attempt to hide my admiration for the A500 mini. It’s brought the Amiga back to the masses, introduced a whole new audience to our glorious platform and made the Amiga much more accessible to those who enjoyed one in their youth.
After spotting the first one I’ve seen as “parts only” on eBay for just £34.99 complete with mouse and pad, it was a no-brainer. I was hoping that the seller was using a cheap PSU / cable and therefore was working, just under powered. It was described as “*FOR PARTS ONLY* Not working console, only for parts. Reason – Power cuts on startup” Unfortunately the seller was right.
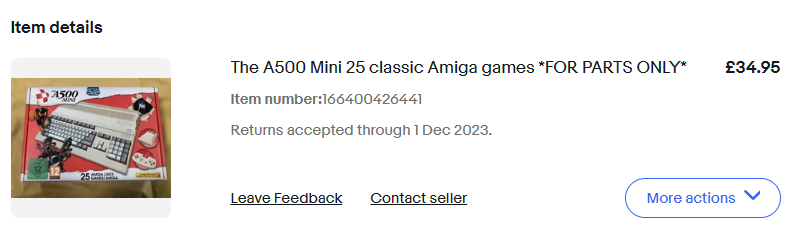
Bargain!
Despite my best efforts using all I have learned putting together the following article, it did indeed just ping a HDMI signal and turned off.
Spoiler – the above didn’t work 🙁
It’s time for the tools!
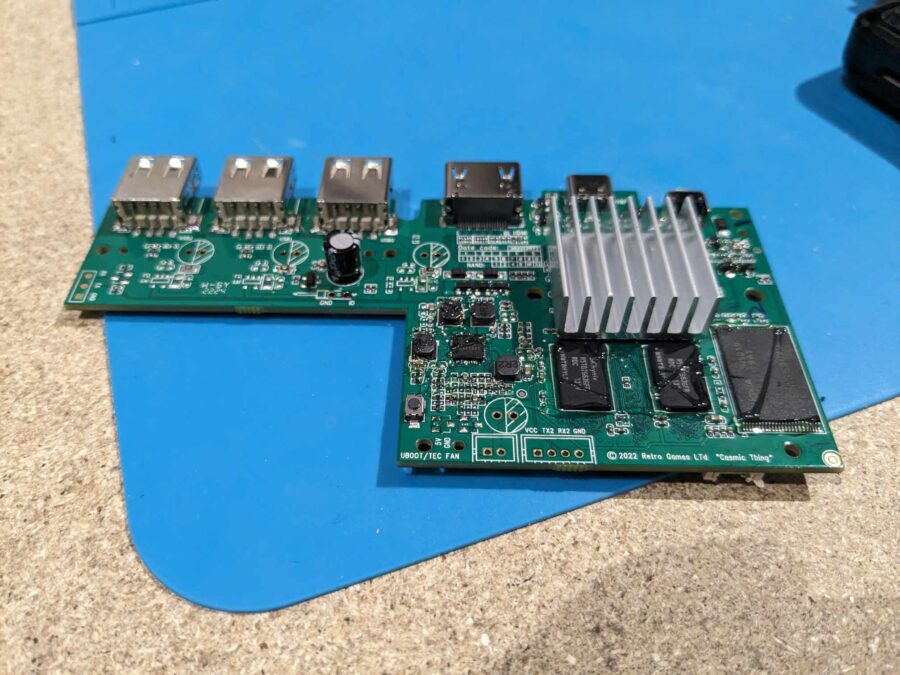
The next step was to visually check the board and reach for the multimeter. All the grounds were as expected and the VCC (3v) was all in order. Here are some photos of the board.
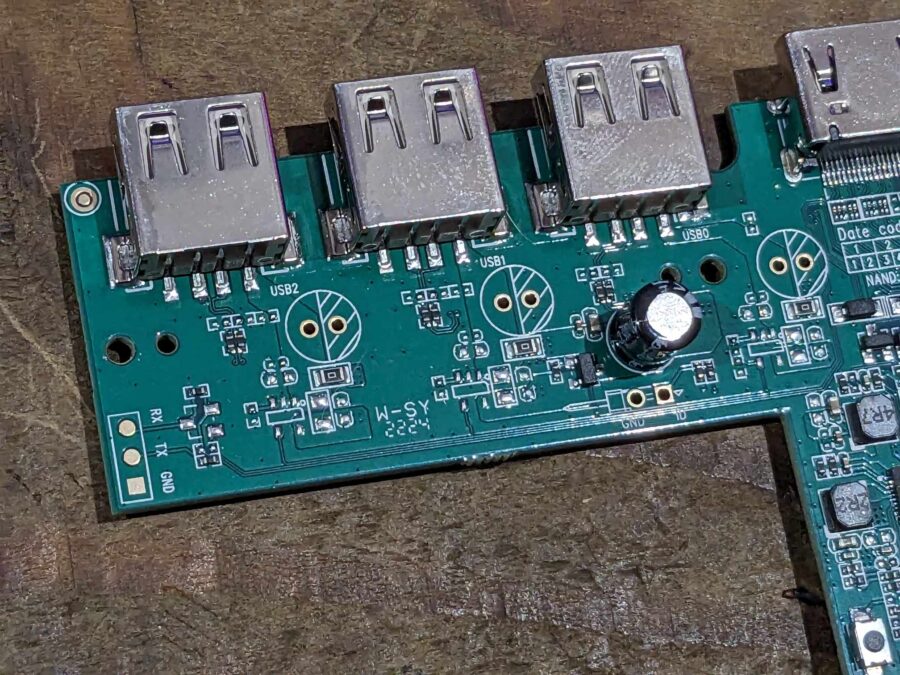
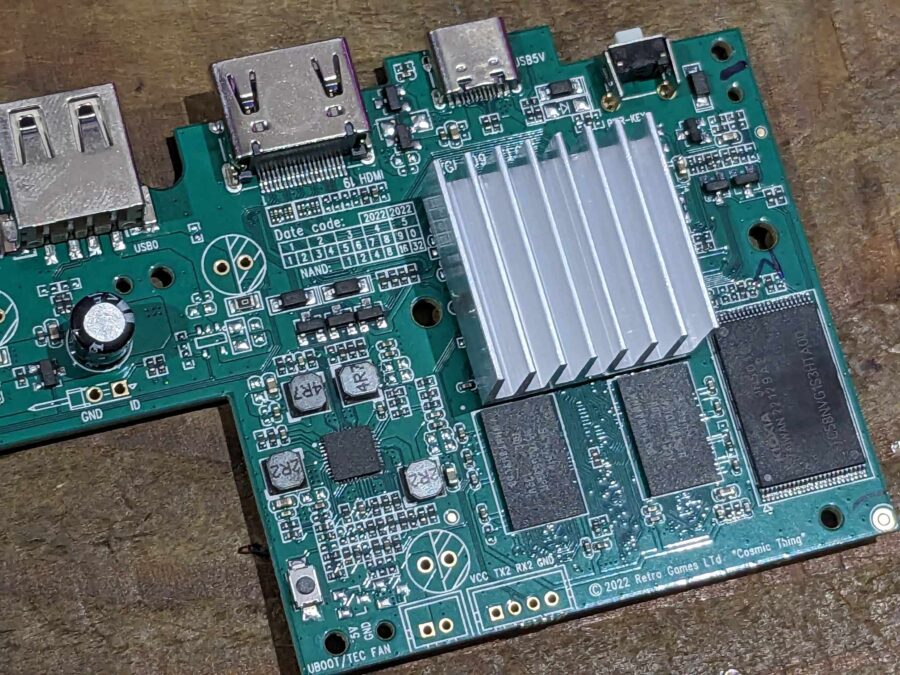
It’s at this point I’m out of my depth. After some discussion with the legend that is LinuxJedi – I went YOLO and reflowed the chips in case a connection / joint had let go. After some flux and cooking with the hot air station, there was no difference. This board was toast, or at least beyond my skill set to repair anyway. If you have any ideas on how to fix it / reflash it then please let me know in the comments. I’d love to save the board and get it working.
It’s hot air time!
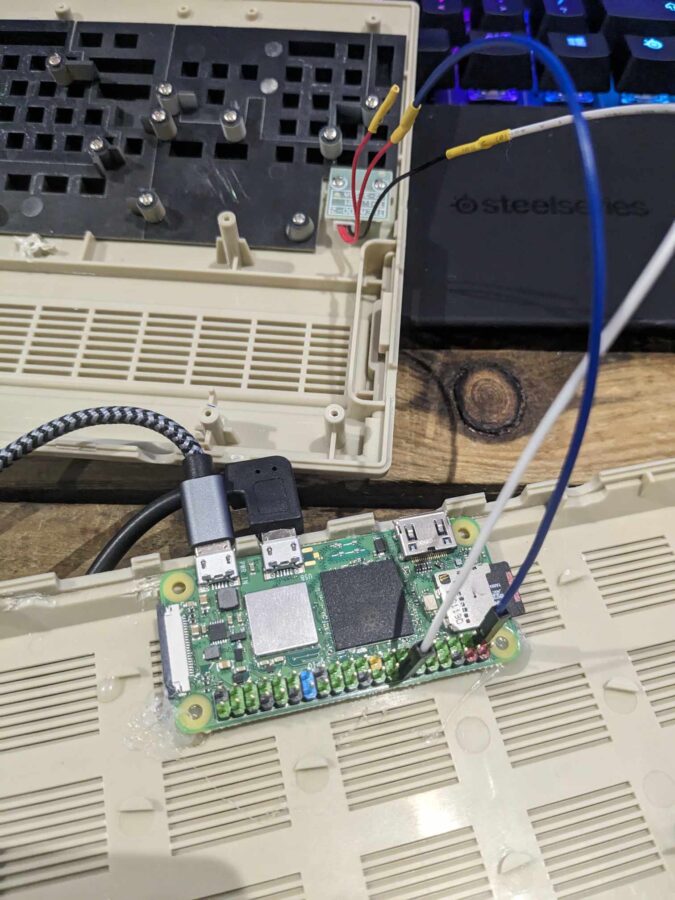
After this is had a rummage in my parts draw and spotted some Raspberry Pis. I tried to squeeze a Pi3 into the case with a little cutting away of the internal standoffs but the board was just too tall with the NIC and USB ports. The Pi Zero 2 that was recently removed from my PlexiLaser project was a perfect fit, although the lack of USB A ports was a bit of a pain.
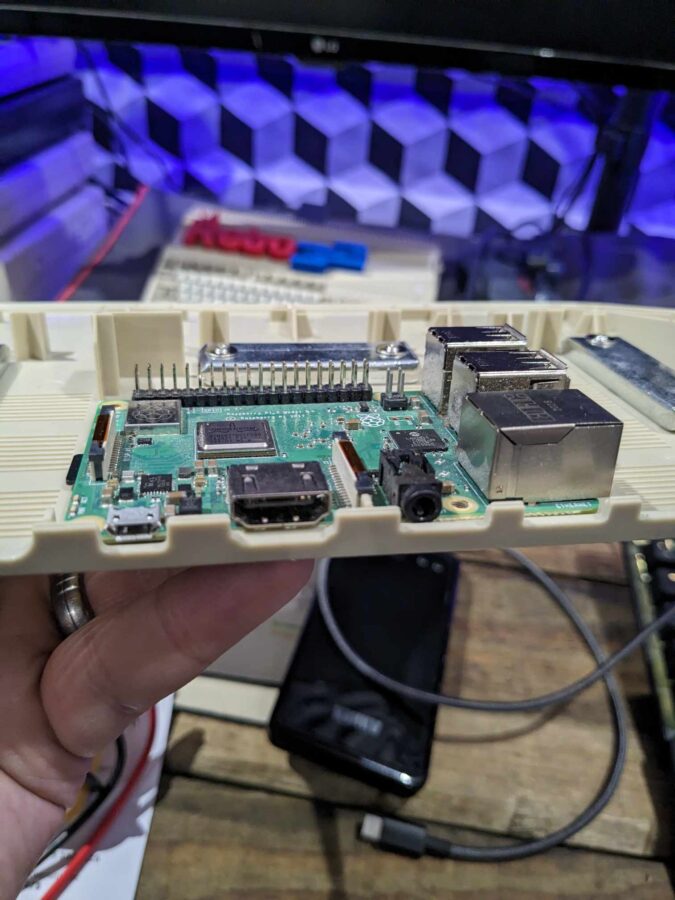
It fits, well kind of 🙁
This is more like it
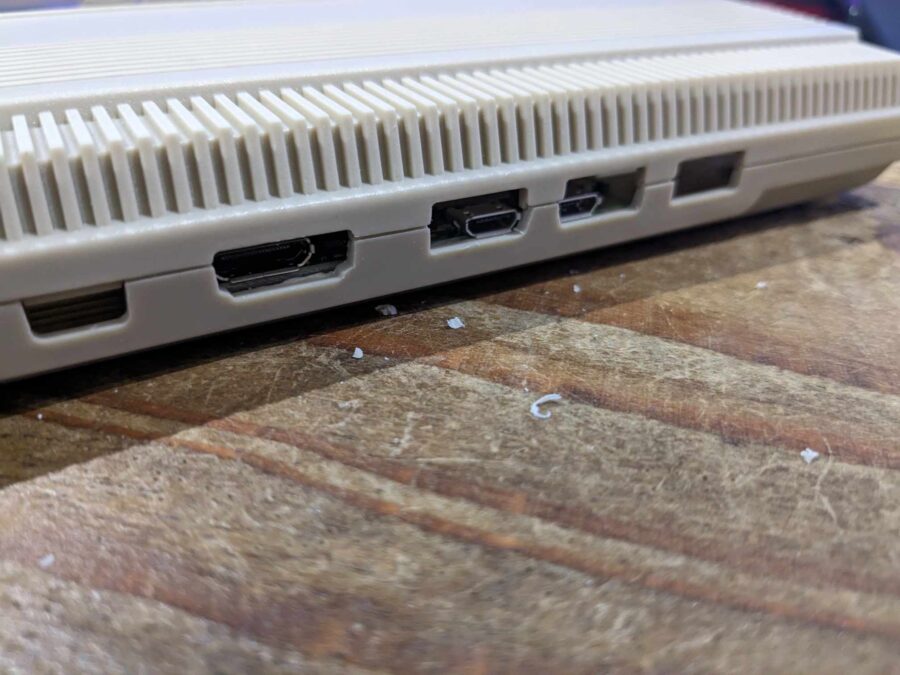
Yes, it looks a bit pathetic in the mini case but the Mini HDMI and USB mini ports pretty much line up. I did have to remove a little material from the lip below the ports with some side cutters and a blade.
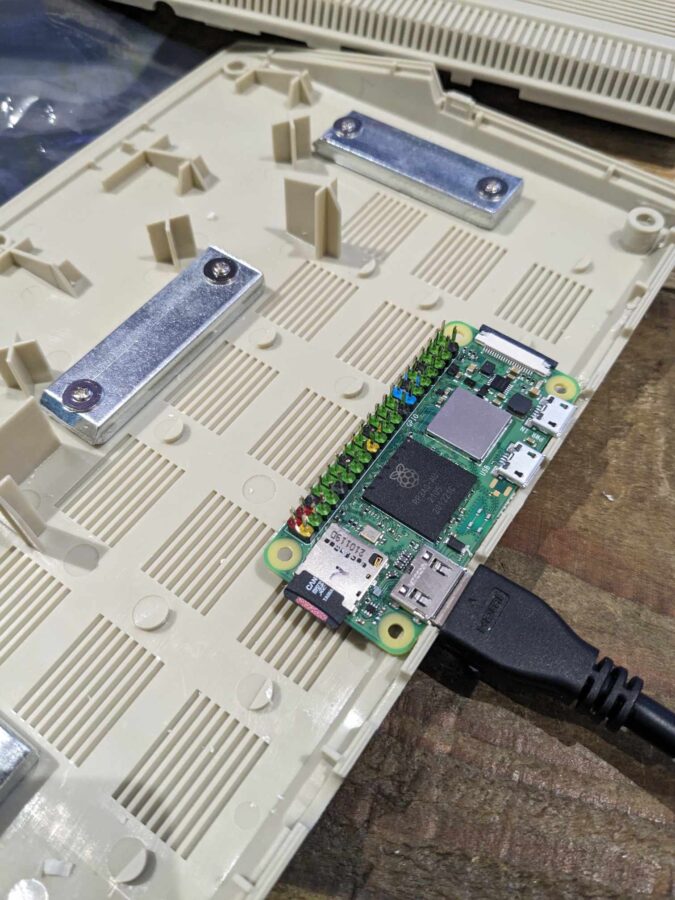
With a little hot glue and a very slight trimming of the case between the USB mini ports the Pi Zero 2 W actually fits in there lovely. I hooked up a power USB hub and managed to find a USB mini to female A cable.
It took some trimming!
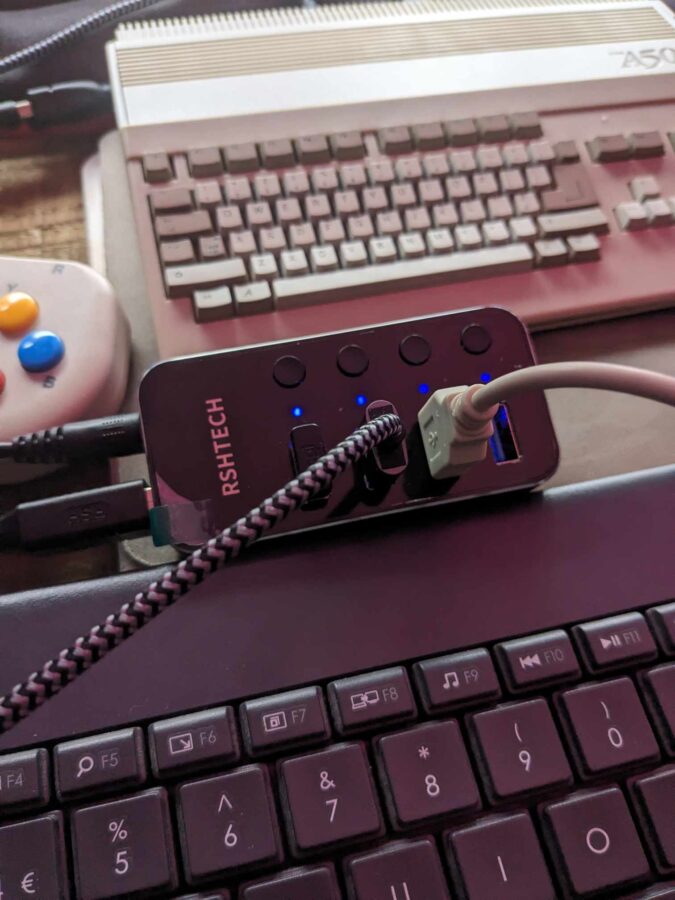
Note that for the A500 and most Raspberry Pi / SOC boards having the right power is the key. I would recommend this powered USB hub, also make sure you use high-quality cables from someone like Anker.
Software
You’re pretty spoilt with Raspberry Pi Amiga software distributions these days, you have PiMiga and AGS for the Pi. I wanted something as close to a “real” Amiga experience as possible without RTG. My mind was set on Amiga Game Selector (AGS) real hardware edition. Weighing in at just 16GB it would be perfect for what I would class as an “authentic” workbench experience with a couple of bells and whistles.
For the OS I opted for DietPi with Amiberry. This distro can be configured to boot directly into Amiberry and once configured can give an even more “real” experience over a real mini as it can be setup to boot directly into AGS.
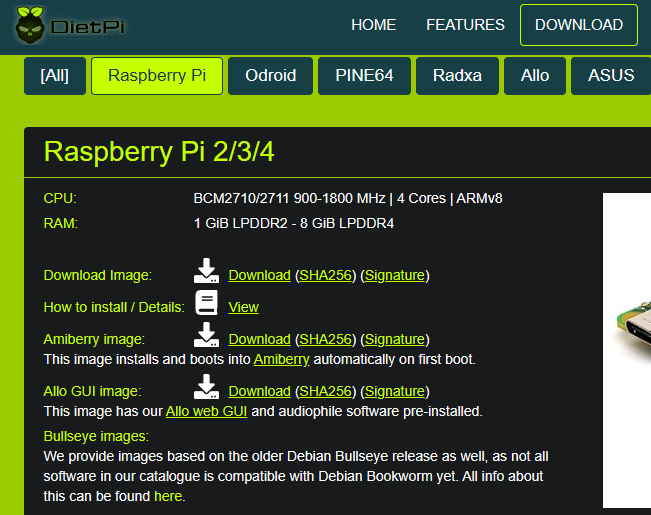
https://dietpi.com/#downloadinfo
If you’re new to Linux it might not be the way to go. Setting it all up, and getting the AGS HDF file, roms, and wifi configured might be something a little beyond a newcomer to the the Raspberry Pi. After a little tweaking it was all working as expected.
Note that despite SSH working out of the box you’ll need OpenSSH installed so you can use WinSCP to transfer all the files over.
Amiberry / AGS set up
Getting Amiberry and AGS working was a breeze. Again, if you’re a newcomer to UAE / Workbench then this might not be for you.
I set this up as an 040, running at 25Mhz, 3.1 Roms, 8MB fast and the AGS HDF mounted. I also set up a “hard folder” on the Pi to make transferring packages to the Workbench setup a breeze. I have left ASG booting directly to the selector but it will just to Workbench with just a tap of the escape key.
I configured Amiberry with the bsdsocket library (under Expansions in Amiberry). This gives the machine networking without the pain of having to mess about with drivers or a TCP stack like Roadshow. With just a check of a box, DCTelnet could be installed and the “A500 mini” was connected to our BBS!
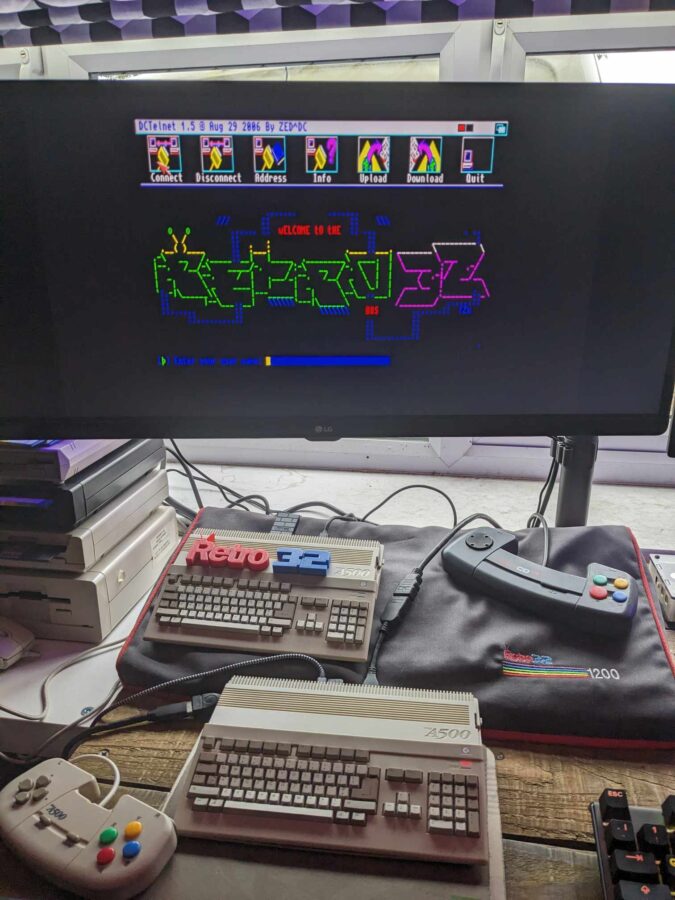
For more info on how to connect to our BBS click below
With iBrowse installed the Mini was finally on the internet and able to access Aminet, yes I could just transfer directly to the “share” hard folder but there’s no fun in that!
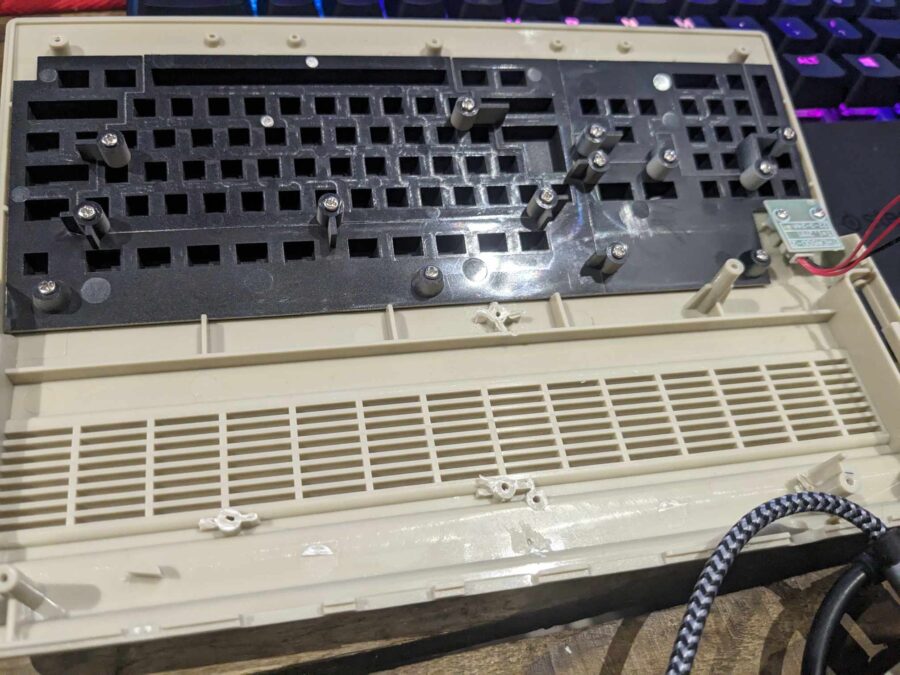
Power light
The final job of Part 1 was to try and get the power / disk activity lights working. I configured the Pi to point the ACT light to pin 22 and wired it into one of the 3v feeds to the power LED board on the mini. Unfortunately, that wasn’t to work but I did manage to take a 3v feed directly from the Pi GPIO to the board to power the red power light. In part 2 I’ll work out a solution for the disk activity light.
Never one be one to be shy of the hot glue. Ground and 3v feed from the Pi to the LED board
Part 2!
I won’t be stopping with just Part of of this project. I’d like to get the disk activity light working together with a solution for a external SD card reader. I have some ideas about that that will require some more cutting and 3D printing. We’ll also dig into the features of AGS and give some performance / game benchmarking figured. Yes, it will feature some Frontier Elite!
Let me know if you have any ideas on what to do next. With it being such a “cheap” project so far I’m not precious about the mini. Shall I paint it? Cut it up? Let me know in the comments below
Did you try to attach a usb2serial converter to the UART serial port to check bootup messages?
Or try booting in FEL mode?
https://thec64community.online/thread/1540/fix-power-issues-thea500-mini
Thanks mate – I’ll give it a look!
Have two of such boards. Both around 50€ w/o controller (Mouse only). First one was offered as faulty. Second one as fully working. First one I ruined, since it even refuses to boot anything. FEL mode still available.
Second one spits tons of errors while trying to backup actual state to a thumb drive.
On the first I‘d mess with uart, ripped a pad and rendered that useless.
Second one is untouched, except the backup attempt via FEL mode.