The sands of time aren’t kind to our beloved Commodore Amiga’s, especially for those machines equipped from the factory with a battery to keep that real-time clock (RTC) ticking. Over time, the contents of the battery can leak in the form of battery acid, potentially destroying traces and other components on the board.
If you’re a current or new owner of one of the affected machines then you should stop what you’re doing a remove that battery now. Like right now!
Which Amiga’s had onboard batteries?
Unfortunately, the following Amiga models had onboard batteries
- Amiga 500 plus (500+) Rev 8a
- Amiga 1500
- Amiga 2000
- Amiga 4000
It’s also worth noting that some old-school memory expansions and accelerator cards were also equipped with batteries and depending on how the machines have been stored they too can cause damage to the machine and expansions themselves. We would recommend that you check all memory expansions, as some of them have shielding that could be hiding a battery inside.
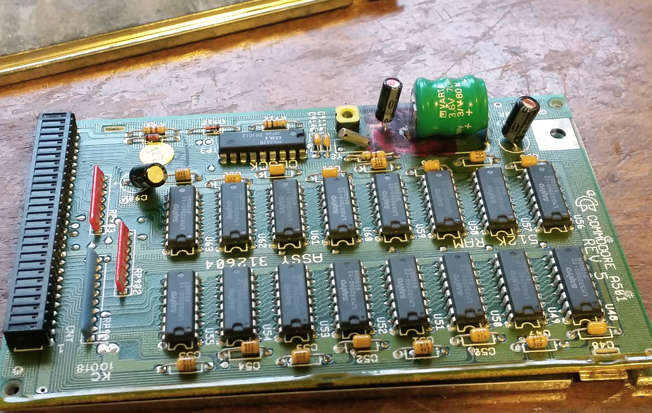
Battery inside an Amiga 501 Ram expansion
How to remove the battery
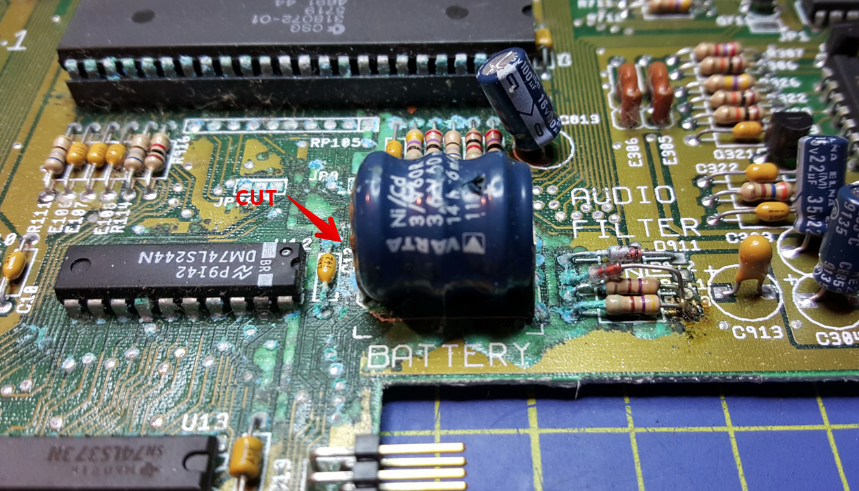
After dissembling the Amiga I would suggest using a pair of side cutters to snip the foot posts from each side of the battery where it meets the motherboard. Depending on clearance you could also snip one side of the battery and work the battery up and down until it weakens the opposite site and snaps off.
Some people opt to desolder the battery but not everyone has the right equipment. Getting the battery out of there to prevent further leakage / damage is the priority.
Please please be careful when doing this so you don’t cause any damage to the board or other components. We’d also suggest that you wear some protective gloves when performing the extraction as the acid is not nice and could cause skin / eye irritation if you wipe your face.
Some tools you might find handy
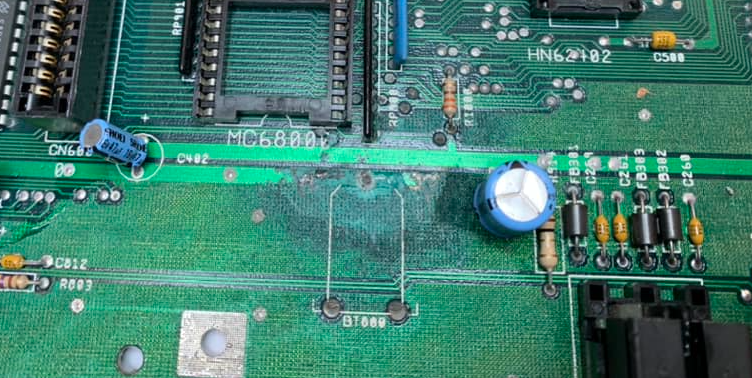
Look at all that green! This is our own board that was not able to be repaired
Cleaning the battery leakage/acid
After removing the battery, apply white vinegar to any areas affected by the leakage. As per the photo above the leakage may have travelled up onto some of the chips so if they are socketed. We would suggest carefully removing the chips to clean the chip legs and sockets. Some folks also use a fibreglass pen to help ensure the chip legs are fully clean.
We would suggest using cotton buds and a toothbrush to clean the board, but again, please be careful when using chemicals.
Once all the leakage has been “neutralised” by the vinegar clean the board thoroughly with IPA and allow to dry.
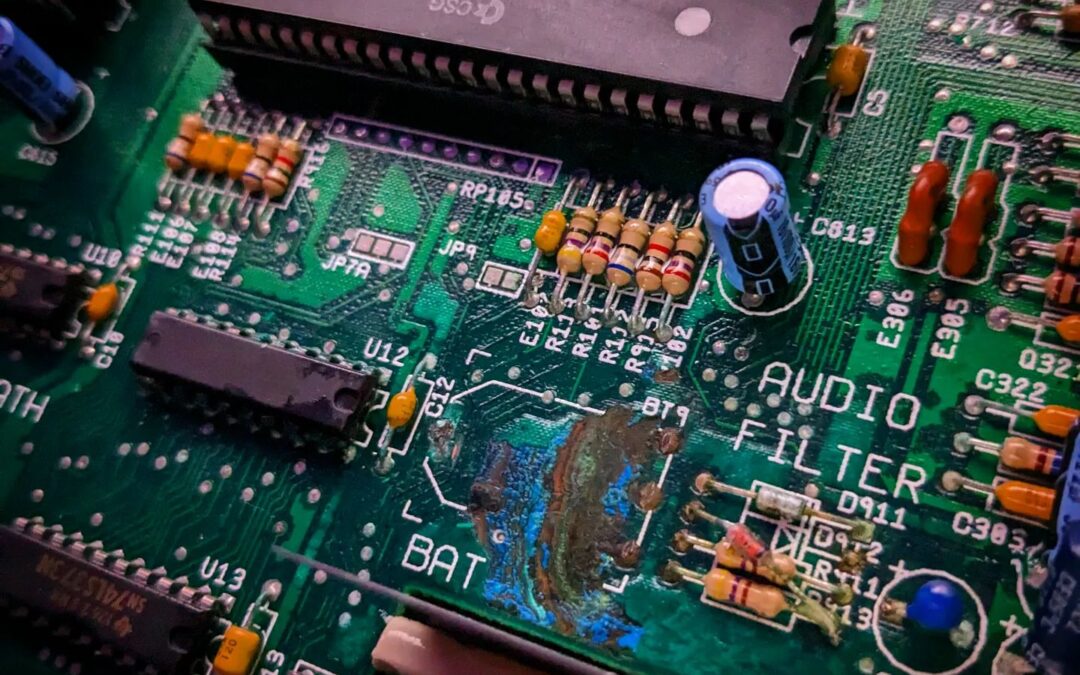
Amiga 2000 battery leakage – note how close it us to the CPU
Can a battery-damaged board be repaired?
We know too well the terminal damage that a leaking “varta! can do to an Amiga motherboard. Sometimes there’s very little leakage, requiring just a little cleaning and others it’s game over. Trace / board repairs are possible if you have time, some experience with a soldering iron and patience but these things aren’t always fixable. This is one of the reasons why you see many Amiga 500 plus plus boards.
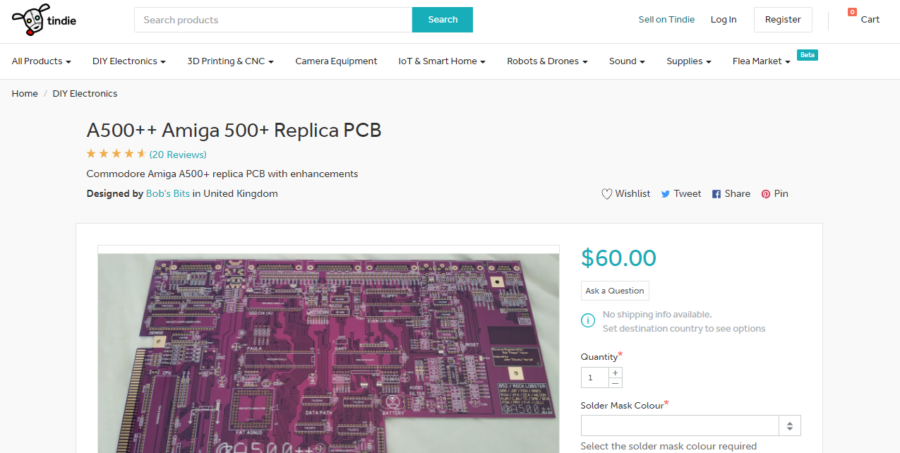
One of our early 500+ boards was not able to be saved and the chips live on inside our beautiful PlexiLaser 500+ thanks to Bob. You can check out the boards on Tindie
https://www.tindie.com/products/bobsbits/a500-amiga-500-replica-pcb/
There are also a number of specialist Amiga repairers that may well take on a repair for you but be warned it’s not always possible.
Buyer beware
The sad truth is that a large percentage of all battery-equipped Amigas will have been affected by battery leakage. Bear this in mind when buying Amiga. Things like “warranty seals intact” or “Untested” should make you think twice about bidding / buying a new machine. Ask the sellers for a photo of the battery and surrounding area if possible and if you’re unsure then walk away.
Let’s hear from you!
Let’s hear your tales of Amiga battery damage. Did you manage to fix the “unfixable”? Do you have any cleaning tips? Let us know in the comments below.