My recent Amiga Quake video running on Amibian showed the limitation of the little Pi4, managing an embarrassing 17fps @ 320 x 200 resolution. Now for an Amiga that’s pretty damn good however considering the Pi4 is a modern-day mini powerhouse, I kinda expected a little more. It’s time for some Overlocking!! “But how?” I hear you ask!
Amibian (1.5ee) does not support overclocking from the Raspberry config utility so the process is a little more complicated than it used to be on the early generations of the Pi hardware. (This could be the case for Raspbian too with the Pi4 – I’m not sure)
Heat is bad
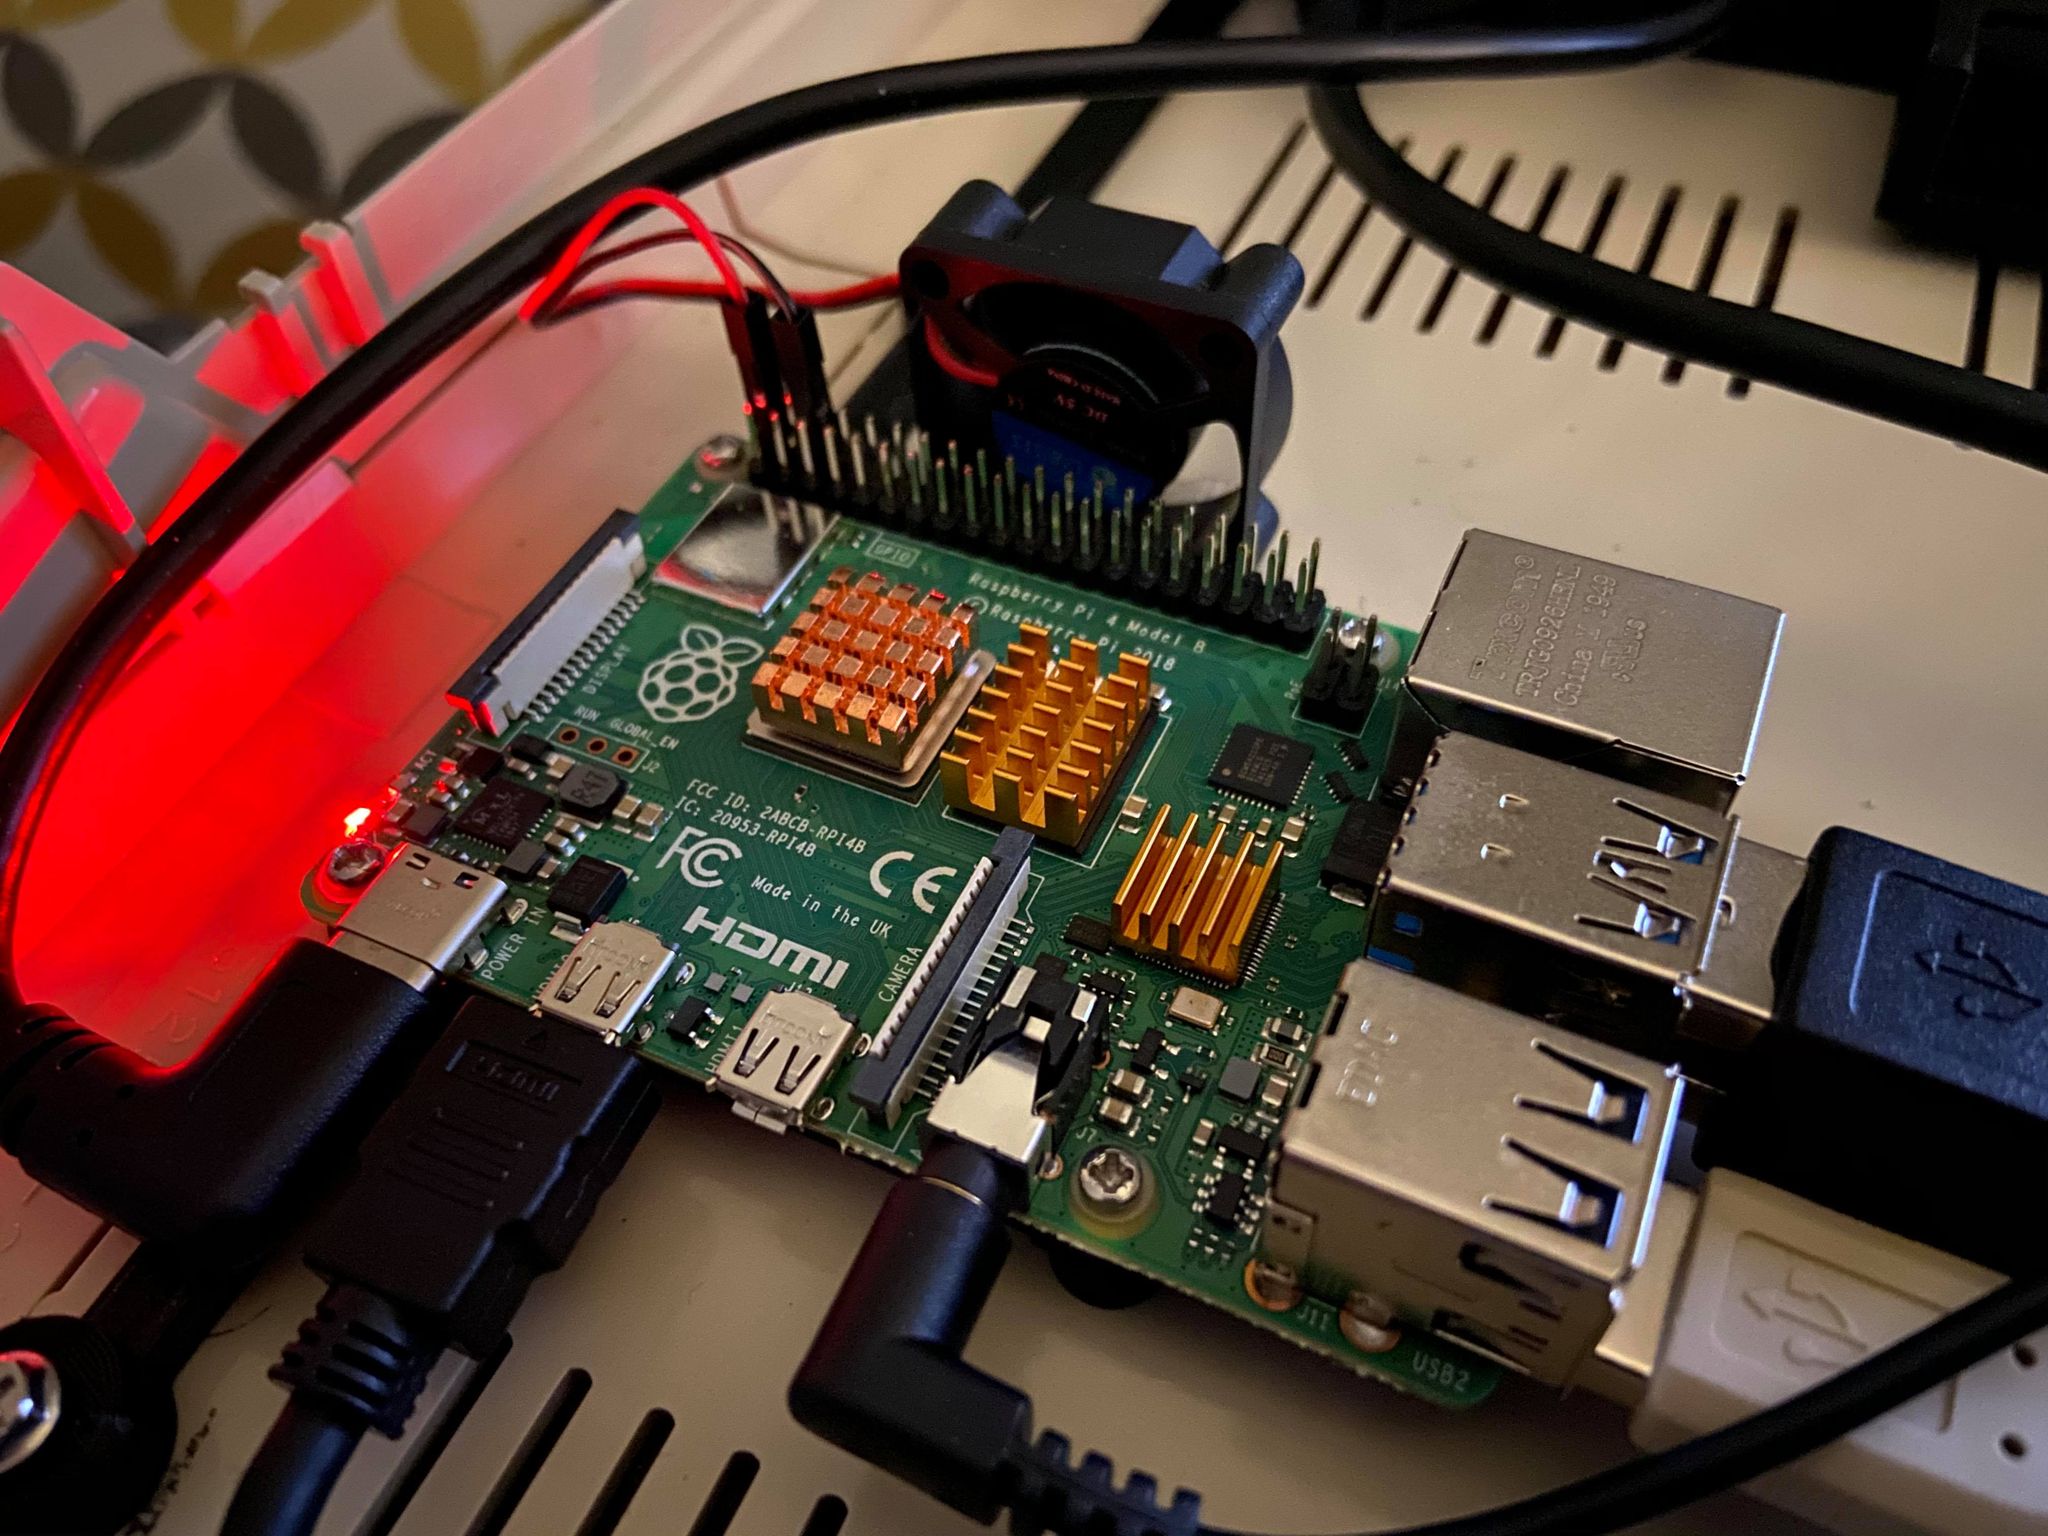
Before you overclock your poor little pi, you need to consider the cooling. Pushing the little board to hard without adequate airflow and cooling it could result in overheating or worse. As below, you’ll see we have a mini cooling fan (running at 5v) and also some cute little heatsinks helping make the most of all that airflow.

Get yourself a Pi4 heatsink and fan set as below from Amazon, it helps ensure a stable and safe overlock and prolong the life of your Pi4. Just remember to make sure you connect them to the correct PI GPIO pins. Running the fans at 3.3v will give you much quieter fans but less effective cooling. Have a play and see what noise levels you can put up with.
To help you further – see below the GPIO pins and voltages
- PIN 1= 3.3v
- PIN 2=5V
- PIN 6=GND
Let’s Putty!
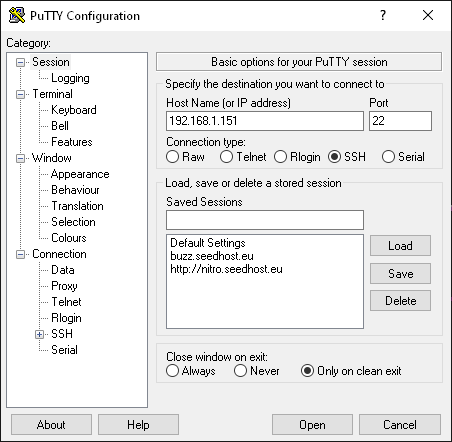
Now we’re not talking the cute Putty from the iconic Amiga game but the putty ssh utility this will let you run a remote SSH terminal to your Pi and allow you to make changes like you were doing it from the machine itself.
Simply open Putty and enter the IP address of the Pi (don’t use the IP address I have used). If you don’t know your Pi’s IP Address then use the command ifconfig from the terminal on the pi itself, run a network scan using Advanced IP Scanner or check the DHCP table of your router. If that’s beyond you then simply pull the SD card and update the config.txt file on your PC and write it back.
When you’re connected you’ll be prompted for the username and password. The default username and password for Amibian is pi / 1234 however for a normal Raspbian install it is pi / raspberry
Now type sudo nano /boot/config.txt
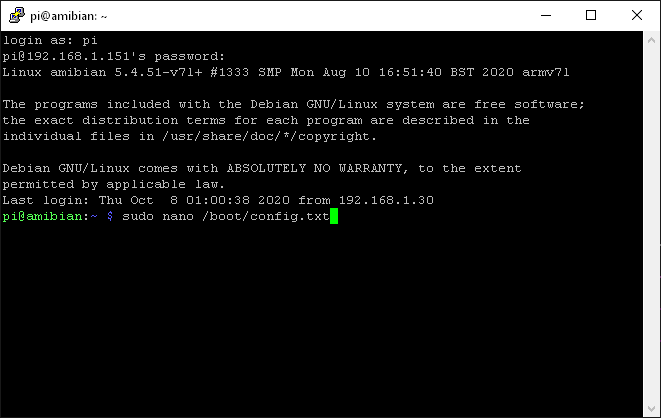
This will open the config.txt file with the GNU Nano utility so you can make the changes needed for overlocking.
Scroll down to the bottom of the file – and add the following lines
#Overlock
over_voltage=6
arm_freq=2147
gpu_freq=750
It should look like this.
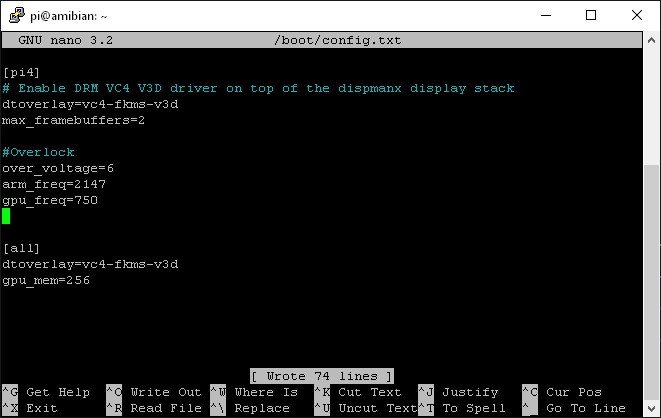
The arm frequency clock of 2147 as above (2.147 Ghz) is about as far as I’d like to push it on the odd occasion. You may want to keep this as 2000 (arm_freq=2000) if you’re going to keep it overclocked.
No simply press Ctrl-S to save the file and Ctrl-X to exit. You’ll then need to reboot your Pi (sudo nano reboot) so you can enjoy at that extra performance!
Let’s hear from you!
Have you overclocked your Pi? Did it make your emulation smoother / faster? Have you got any Raspberry Pi Cooling tips? Let us know in the comments below.