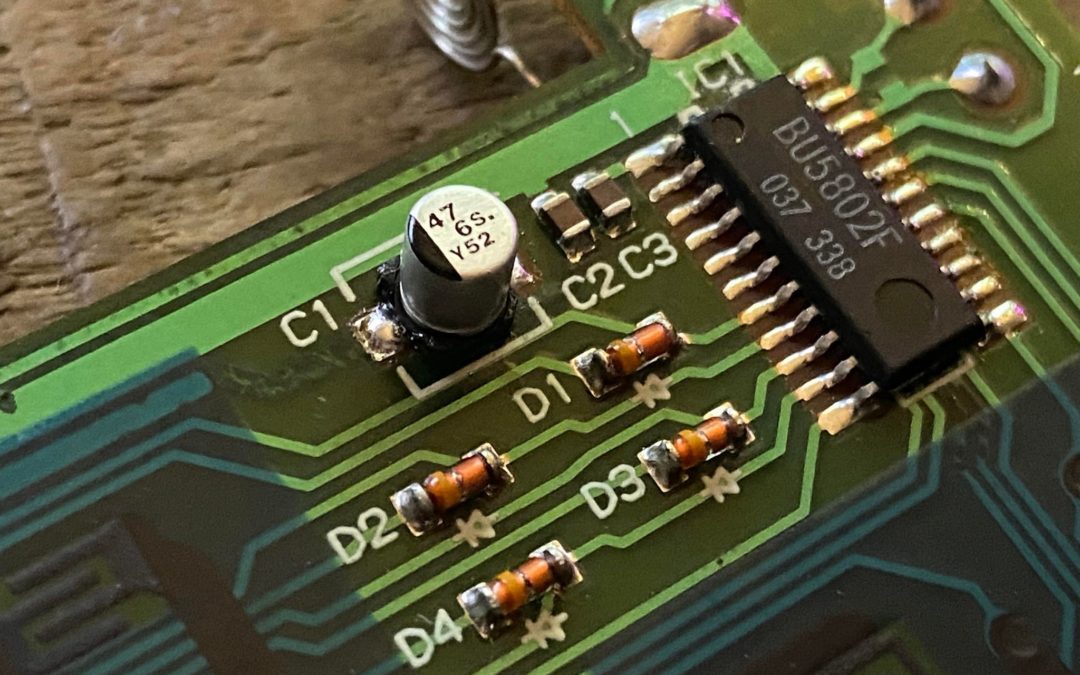
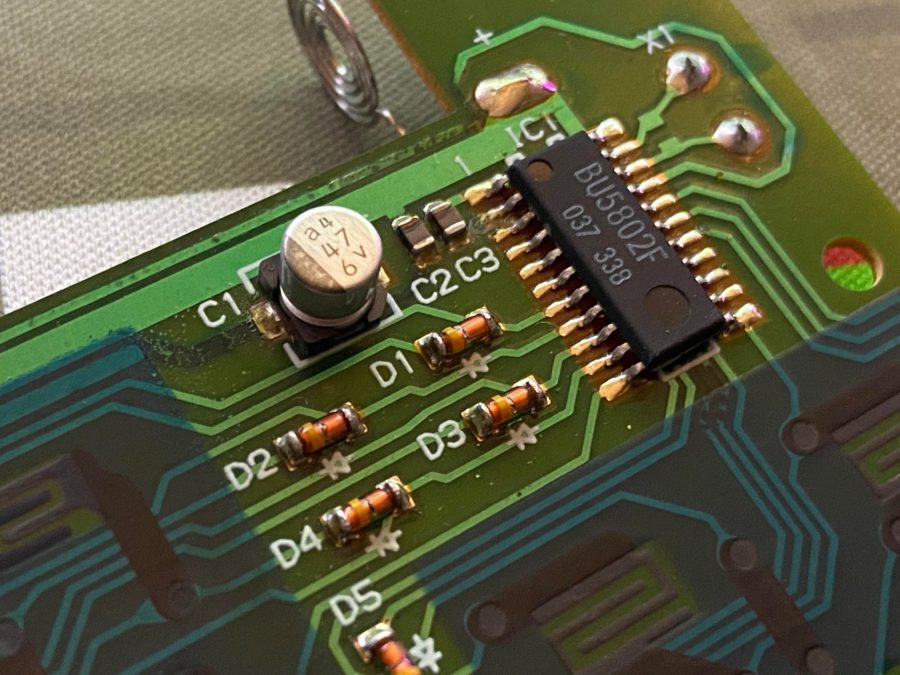
If you’ve been following me on social media, you’ll have seen that I’ve been dipping my toe into the world of SMD soldering and recapping. It’s been a steep learning curve but I’ve managed to stumble my way through it with a little help from the Amiga wizards Paul and Pete (thank you guys!). Thankfully no precious Amigas are (yet) to be harmed. With a couple of Amiga 600 recaps, repairs and an accelerator build under my belt, I thought I would take on the CDTV remote’s Achilles heel, the single 47uF 6V SMD cap. This is the only SMD capacitor on the CDTV and is a common issue with the funky little remote controller. As with other SMD leaky bois on Amiga boards, its electrical love juice can cause untold horrors. Let’s see how I got on.
Disassembly (How to open the CDTV remote)
Disassembling the CDTV remote wasn’t as easy as I first thought. After removing both of the black inset screws I was tempted to bust open the Commodore label in search of a hidden gem but luckily after a little searching on Facebook, I found the solution I needed. With a small plastic pry, I worked my from the right top corner and carefully popped open the case. This was a little nerve-wracking but I managed to get In with no broken clips or damage.
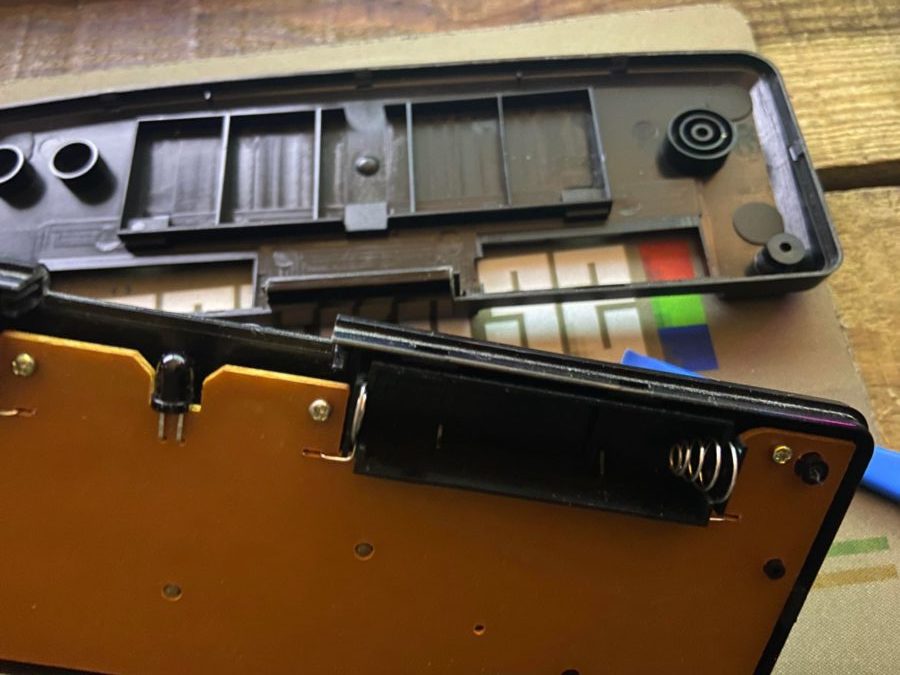
Clips recesses as shown just above the battery connectors
Then it’s a case of removing all the bronze board screws and back to the pry to gently pop the PCB out. Remember to store your screw carefully. I’ve learnt that the hard way in the past. 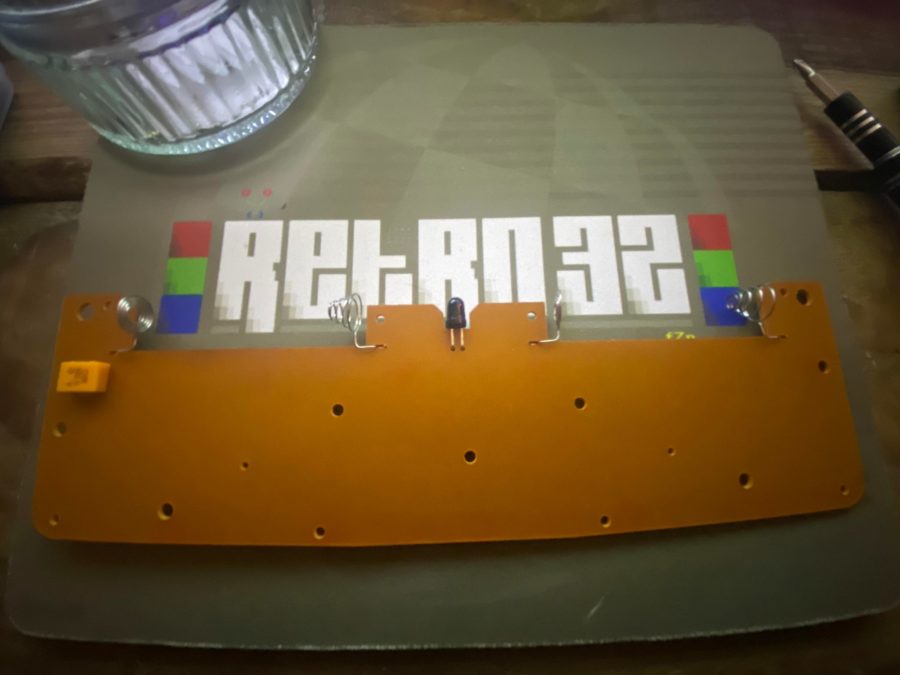
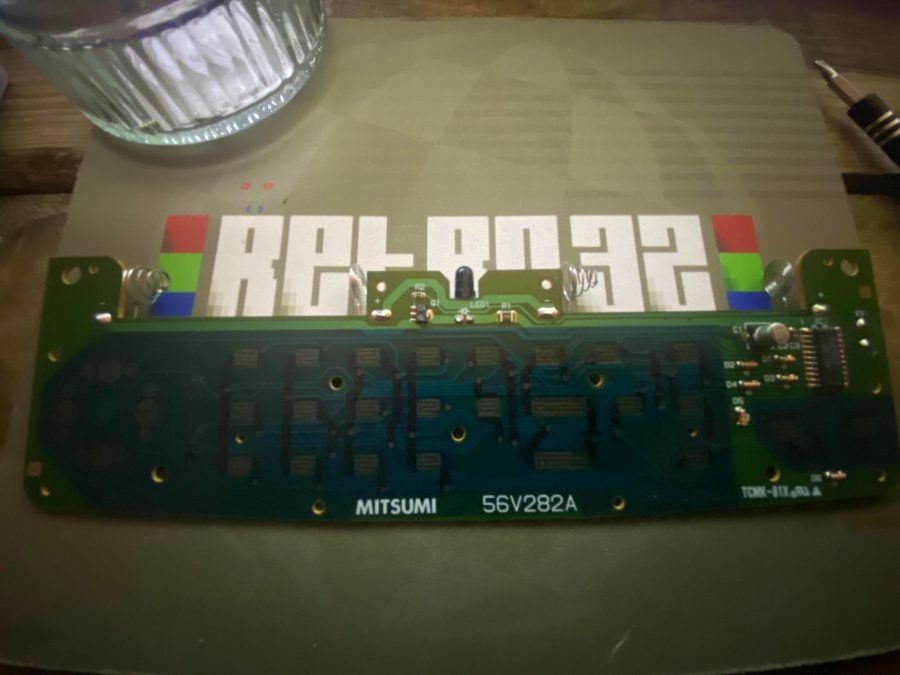

The old cap
Removing the old cap was a breeze. A little hot air saw the old cap quickly floating and was gently lifted from the pads without any damage or fuss. As you can see, the cap had already started to leak and it smelt like hot ass. Hot ass wrapped in turd.

Dirty boy!
Cleaning
I then took out the trusty IPA and a toothbrush to gently remove the cap juice from the board. Then with some wick and little heat from my iron, I cleaned the pads and had another clean of the surrounding area.
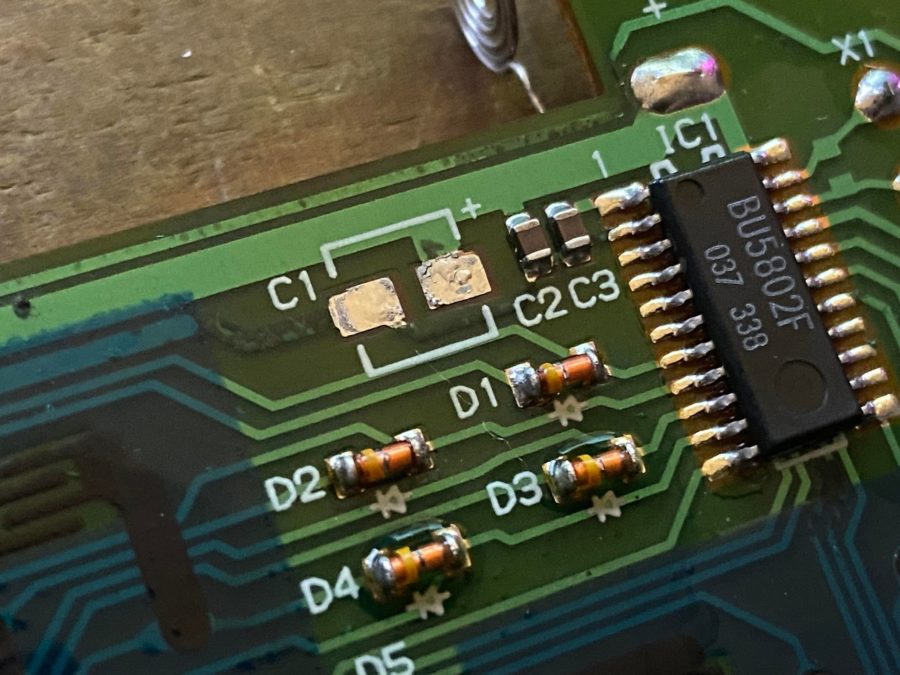
bootiful!
New cap time!
With the pads cleaned, it was time to fit the single 47uF 6V SMD capacitor. This time I opted for solder paste, this was my first time with the silver stuff but I was keen to see how it differed from my usual technique. With a small amount applied, I popped on the cap and out came the air gun. The cap promptly caught the prevailing wind and skipped across the pad, luckily leaving all the paste in place. After this small set back I decided to give the paste some heat until it flowed and popped the cap in place. After a few seconds of cooling it was secure on the pad.
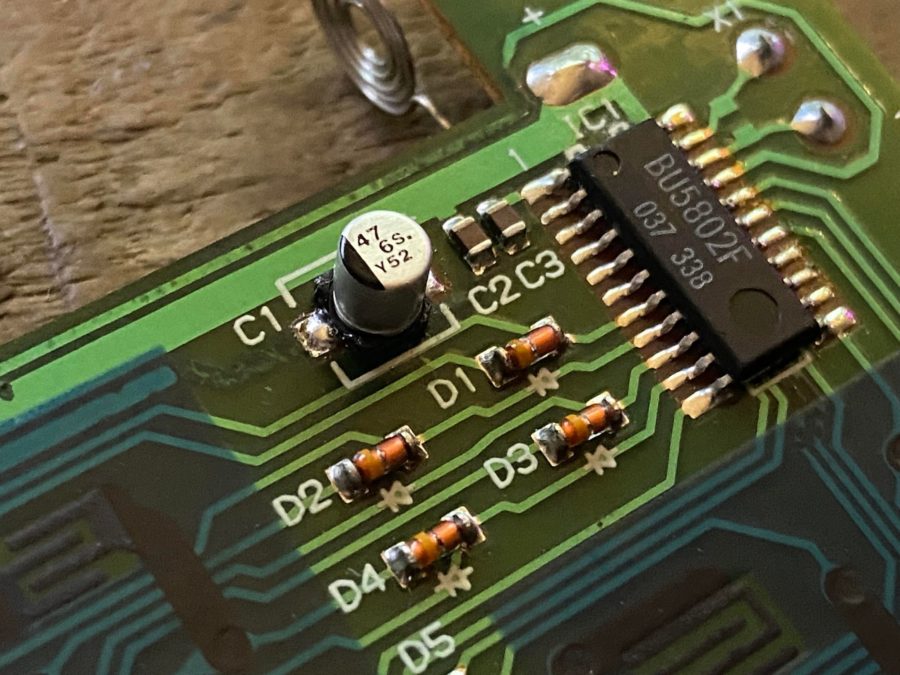
It’s on… or is it 😉
Assembly
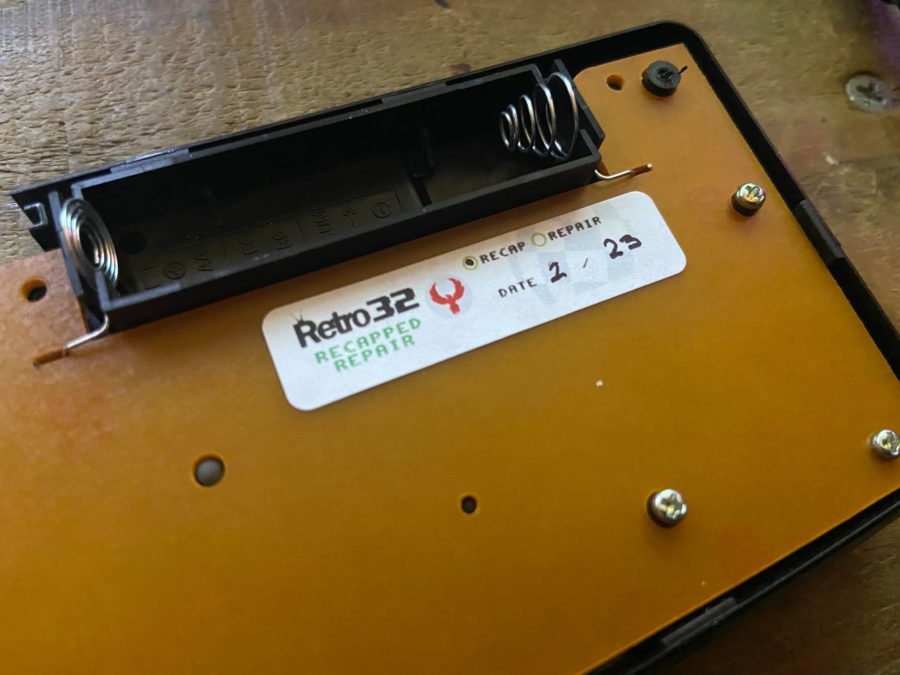
With the new cap secured it was time to give the board a good clean with some IPA. All the pads and contacts had a brisk clean, leaving the board looking like new. Getting the board to sit flush back in position took a couple of tries as I tried to be as careful as possible. As with all my recaps and repairs, I left my calling card and completed the assembly – taking care to make sure all the screws lined up to minimise the chance of cross-threading.
Testing
With my first CDTV recap under my belt, it was time to test my newly recapped Amiga CDTV Remote Controller. My trusty Metallica Black Album was popped into the caddy ready for some tunes. Then… SAD BUT TRUE 😀 the remote was dead. Oh shit. I cleaned the IR sensor covers and proceeded to try and get some kind of response from the remote. It was DEAD.
It wasn’t broken til’ I fixed it
After checking the battery voltages, the remote was again expertly disassembled. With my multimeter in hand, I checked the main power traces across the board, with no issues found. After some close inspection, I came to the conclusion that maybe it was my handwork at fault (what a bloody surprise). When I floated the cap again and was surprised by the lack of solder on the pads. I added a little more solder from the reel and promptly attached the cap. After assembling enough to test…. it only fecking worked. This was my first time using solder paste, I think I was a little too careful with the amount used. Fortunately for me, this learning experience ended with a smile but also another few more grey hairs. For most seasoned Amiga handymen I’m sure this process would have been a walk in the park but like many in our amazing community, I’m keen to learn and more than willing to learn from my mistakes.
Done.
With everything back together here she is. It escaped without any damage from the bearded n00b with hot things. Another one saved and a little more experience under my belt. You might question why replacing a single cap would warrant this rambling article. We’re all here to learn. Learn from our mistakes and share our experiences. Compared to many of these legends of the Amiga repair world, I’m a child with a gun. I just hope with some practice, reading and guidance I’ll be able to care for my extensive Amiga collection myself. It’s been a very rewarding journey so far.
Bloody beautiful!
Let’s hear from you
I’d love to hear about your experiences with getting to grips with Amiga maintenance and repairs. Do you have any tips for a n00b like me? Let me know in the comments below. Commodore CDTV Remote SMD Capacitor: 47uF 6V SMD https://www.digikey.co.uk/en/products/detail/panasonic-electronic-components/EEE-0JA470WR/766030
The traces that have discoloured near the pads means that the electrolyte from the caps has got under the solder mask – and that is not good news. You need to scratch the solder mask on the darker coloured traces and clean up and neutralise any cap juice properly- else the trace will keep corroding under the solder mask